How to decal the LMDH rollout version
€ 0,00
(including VAT 21%)
✘ Not in stock
Description
Hello everyone,
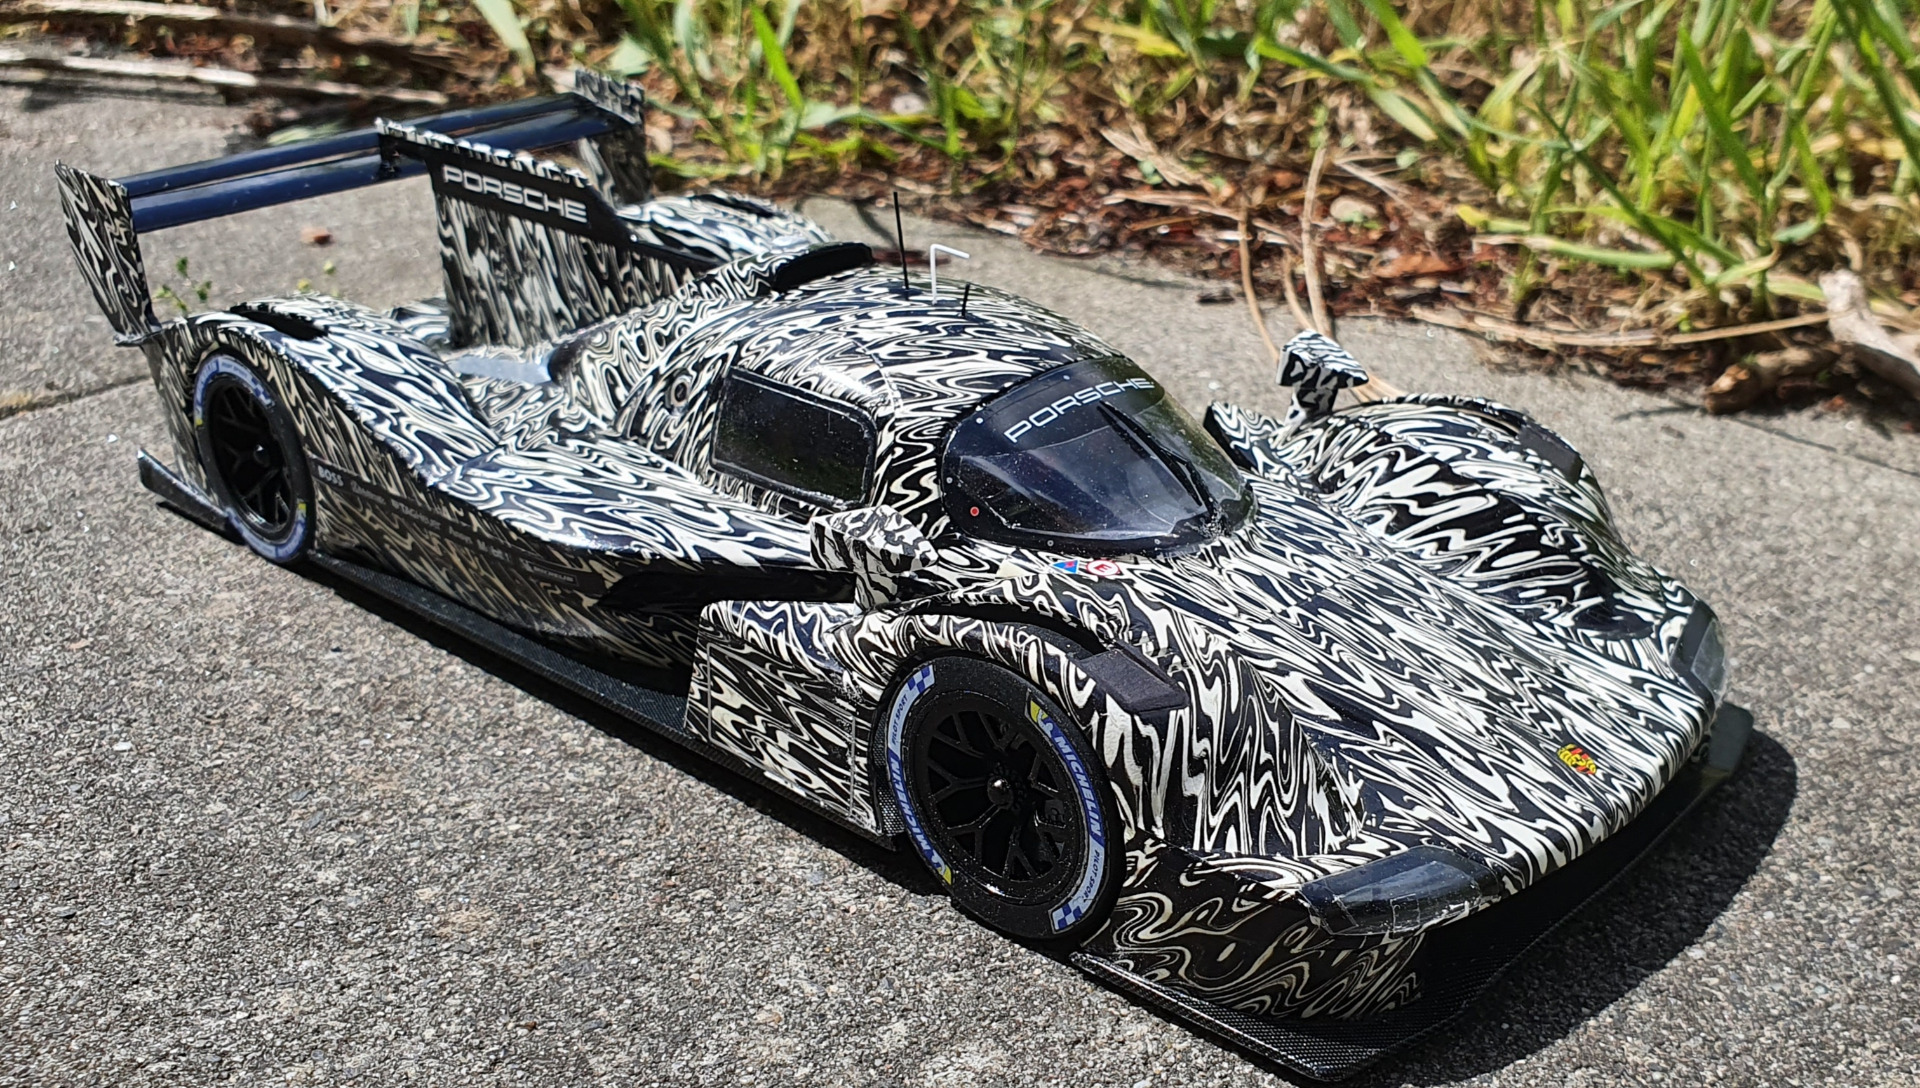
This is a walk through on how I decalled the LMDH rollout version.
Decals available here:
When I am decalling a full car, I always try to keep as many options open as possible. I had no manual when decalling this car, and this was the first test decal. So a Test Version of the Test Version ;)
I will comment each picture below. Now, this is NOT the only way to do this, this is just an explanation on how I did it. As always, many roads lead to Rome.
Take your time, I have found the decals material to be very easy to work with, I have NO setting or softener liquids, only just water. The material is very flexible and strong. Just watch out when sliding them off the backing paper, some of them love to 'roll' over on them selves.
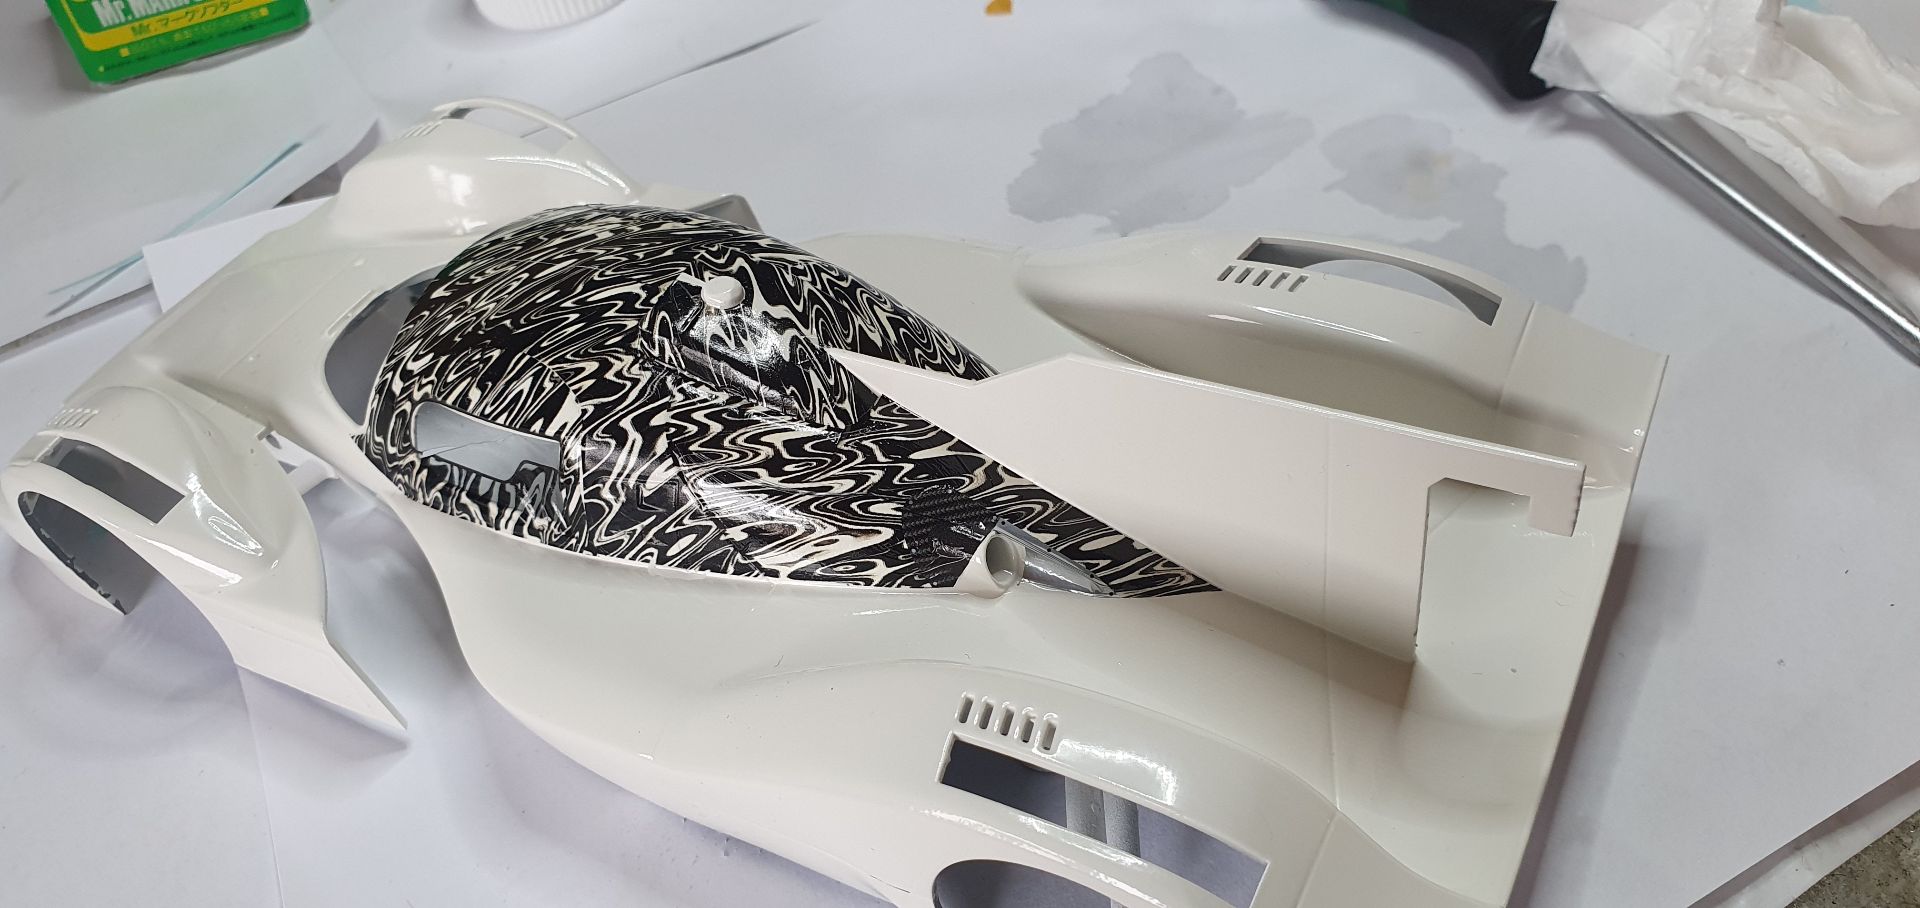
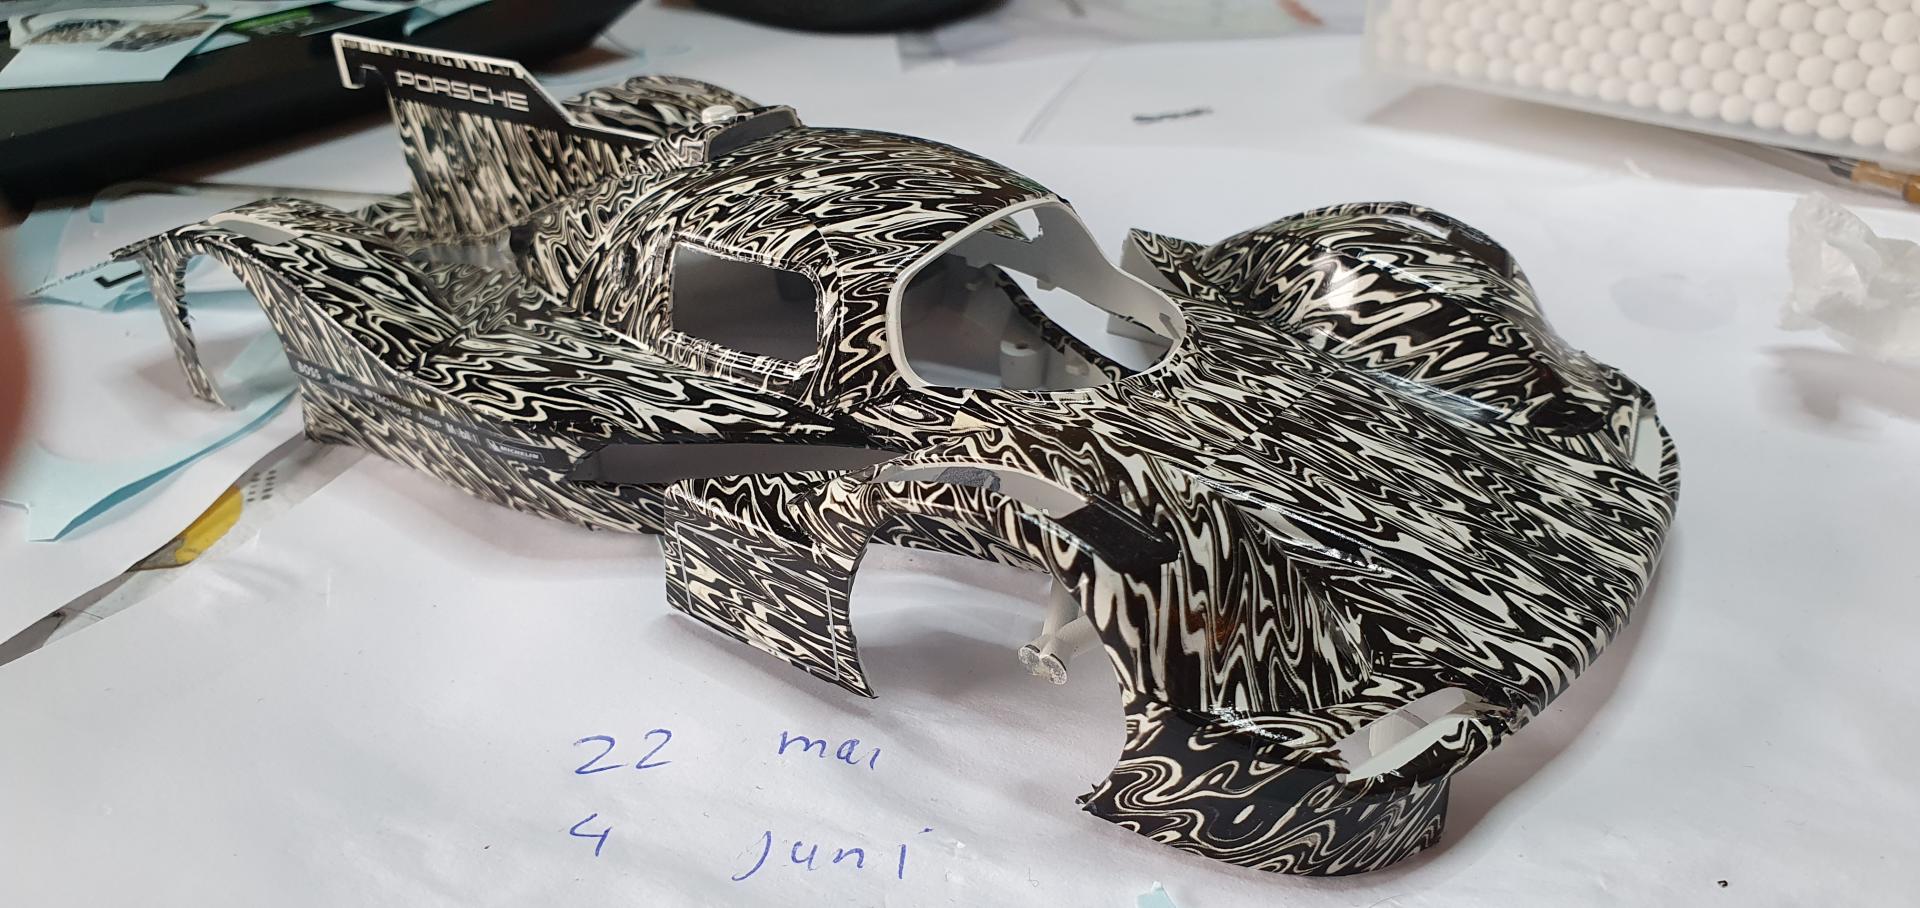
When I was finished decalling, I had about 99,5% of the car covered. The minor white spots I had left, can either be fixed with the supplied 'touch up' parts on the decal sheet, or, like I did, I used a small brush and some black paint. Like on top of the roof fin for example.
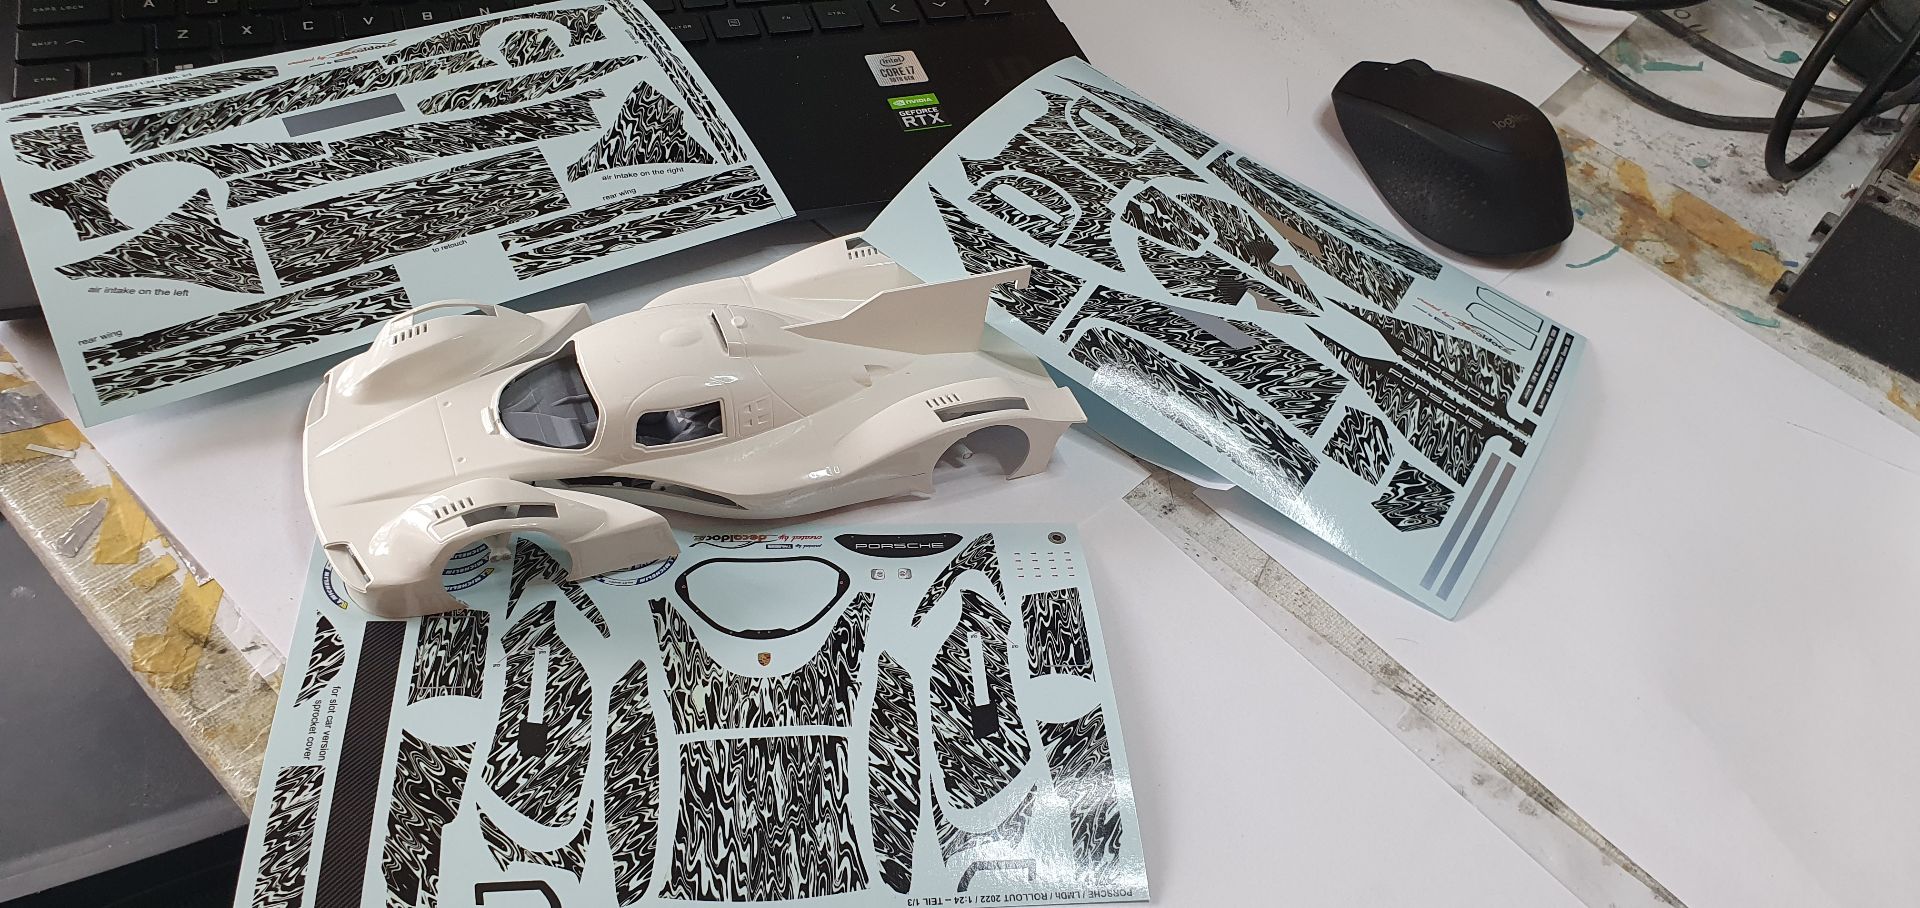
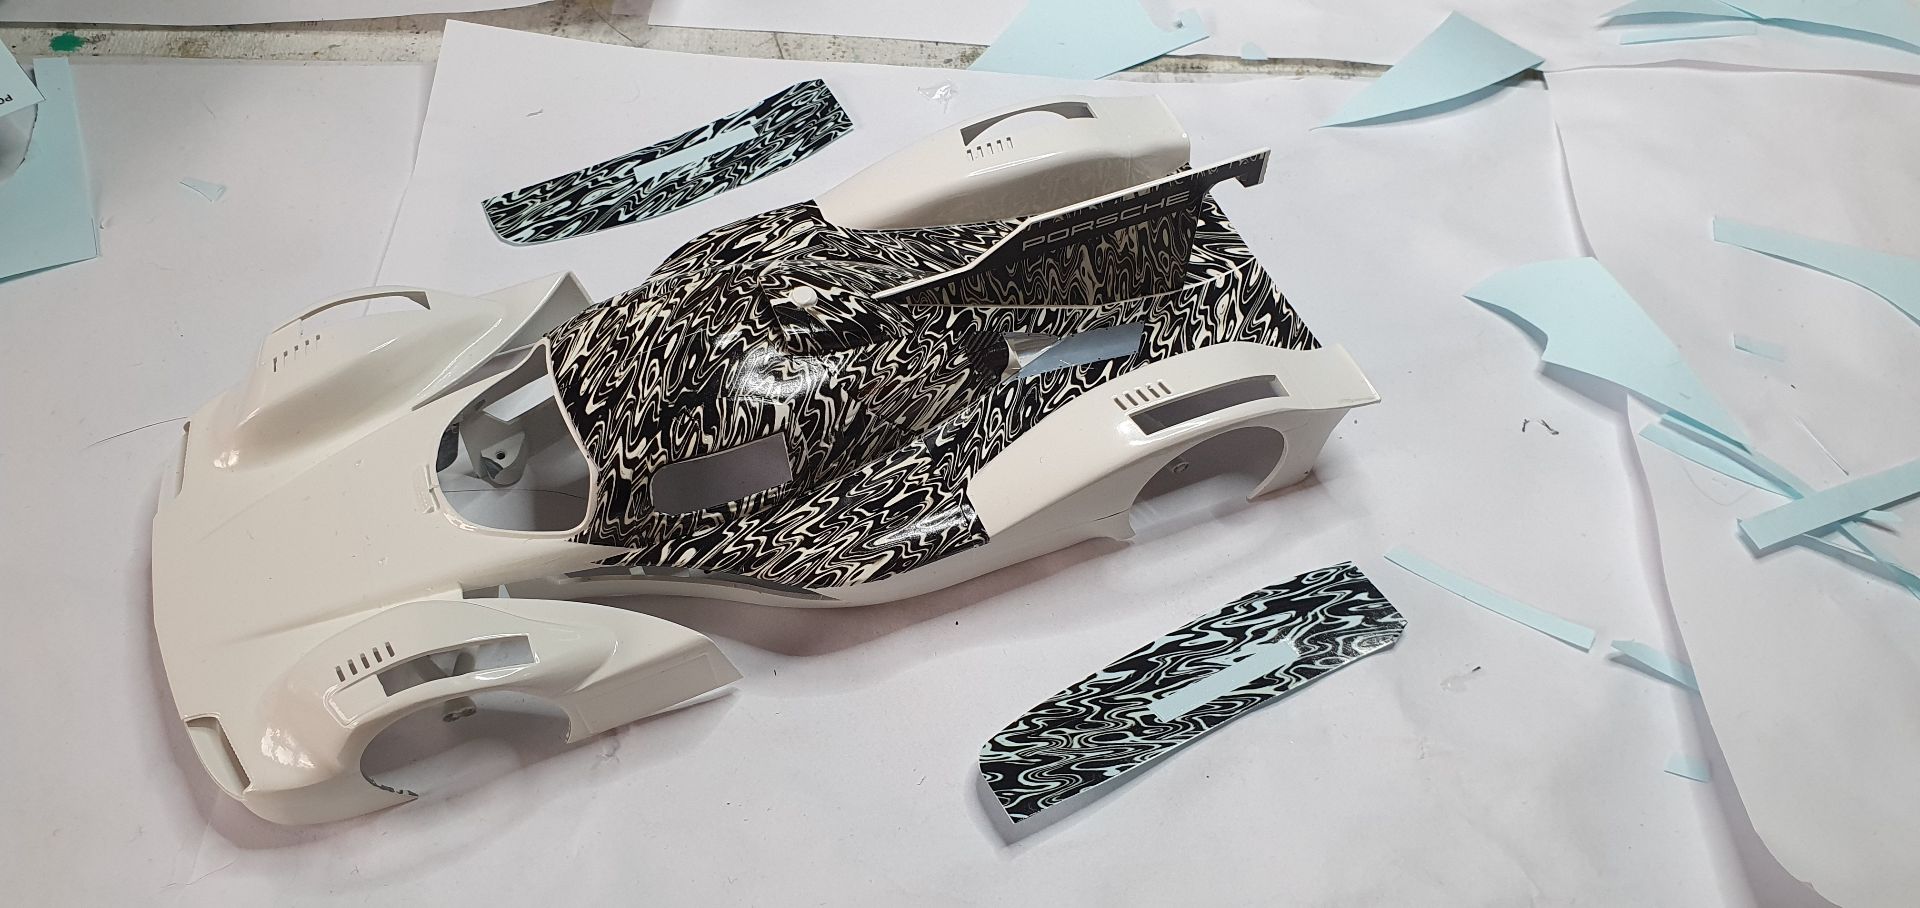
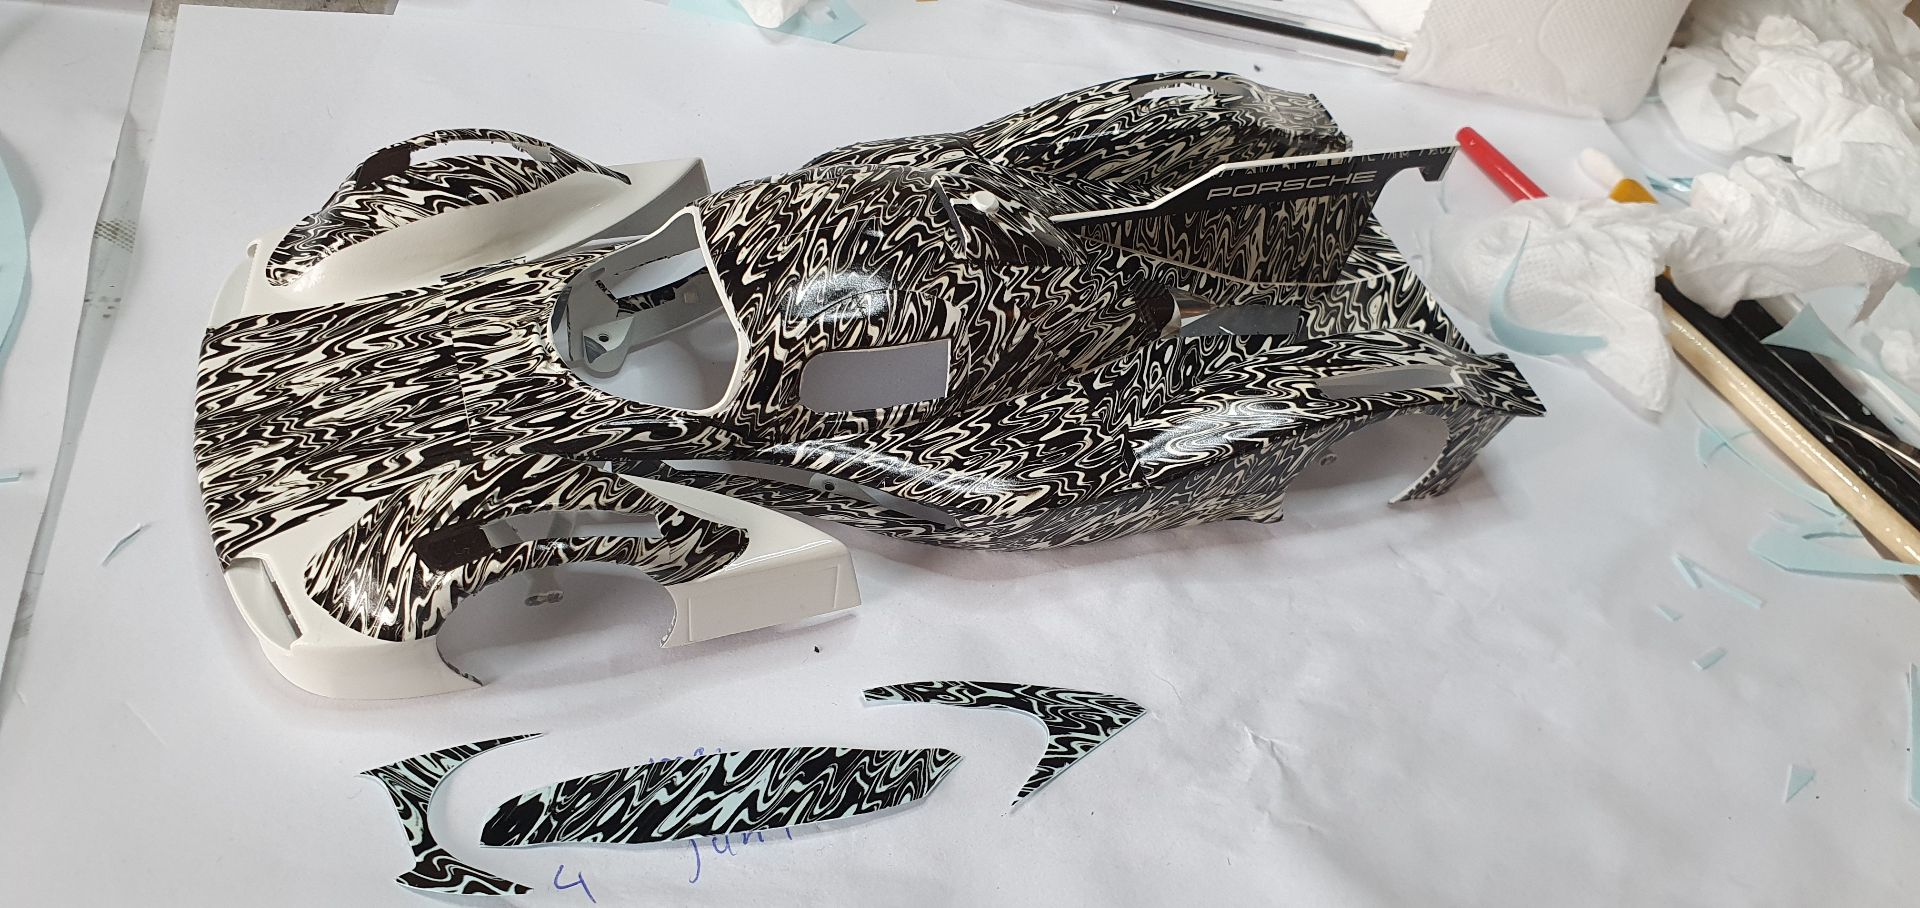
Yes, so many decals!
But, with the PERFECT work of DecalDoc, it is so easy and fun to do!
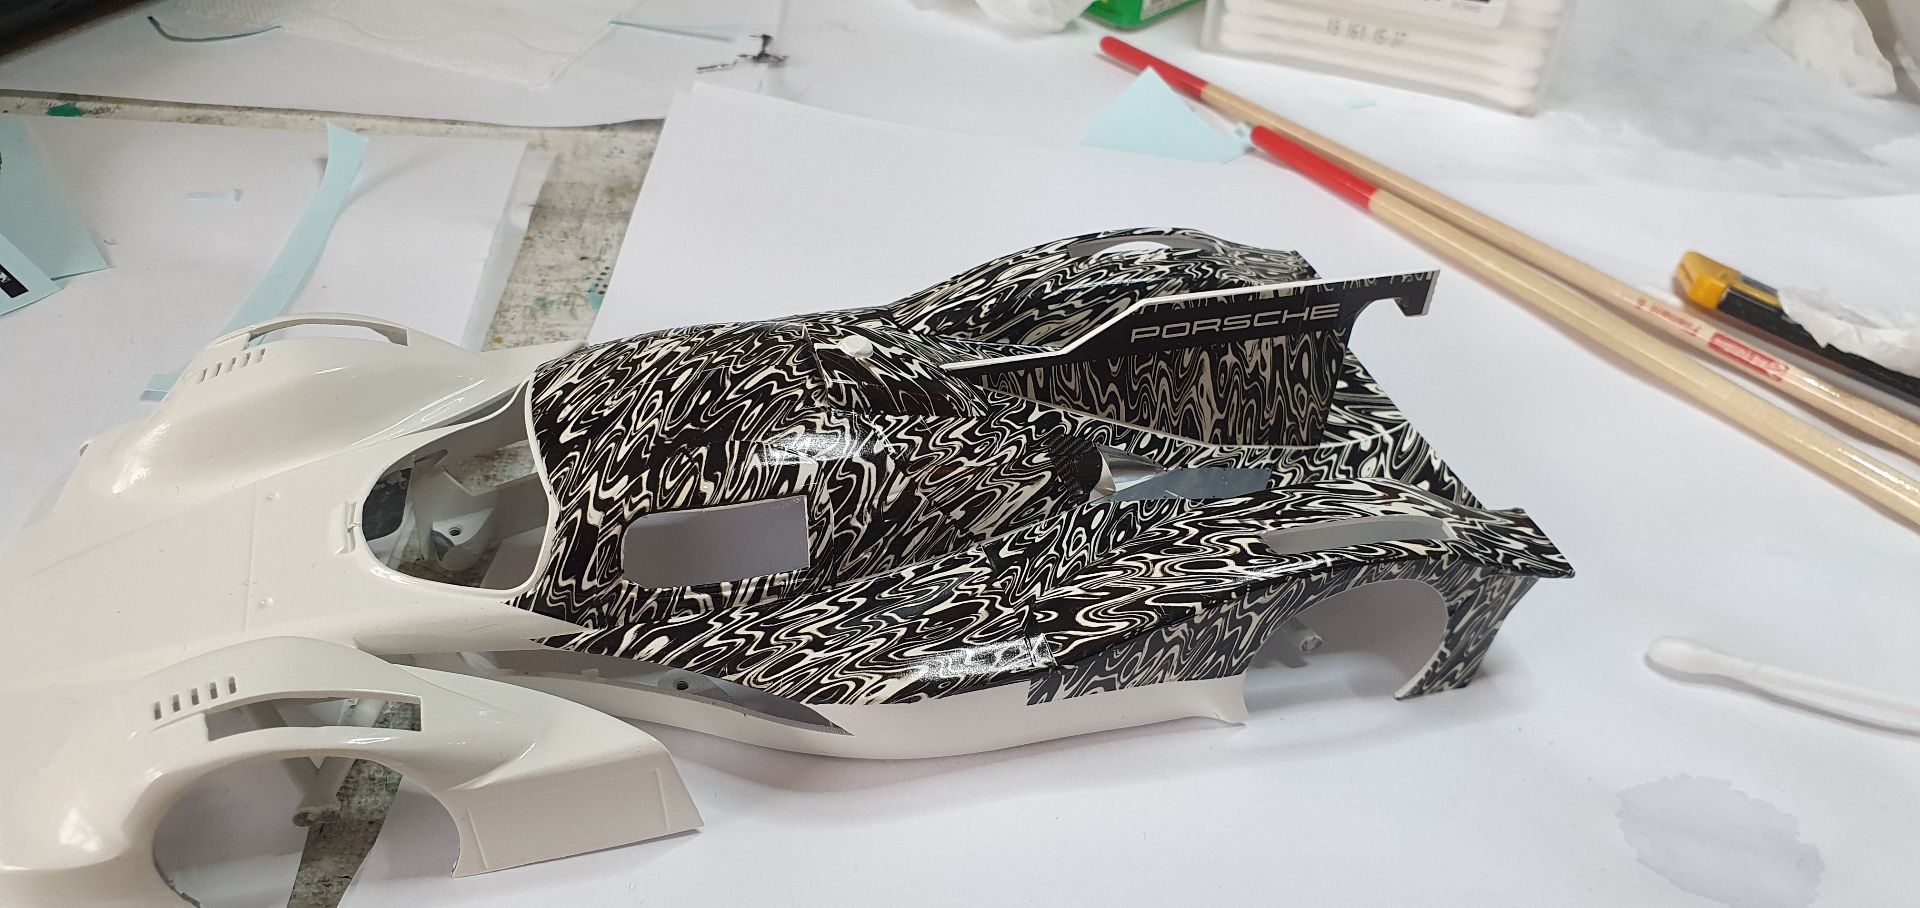
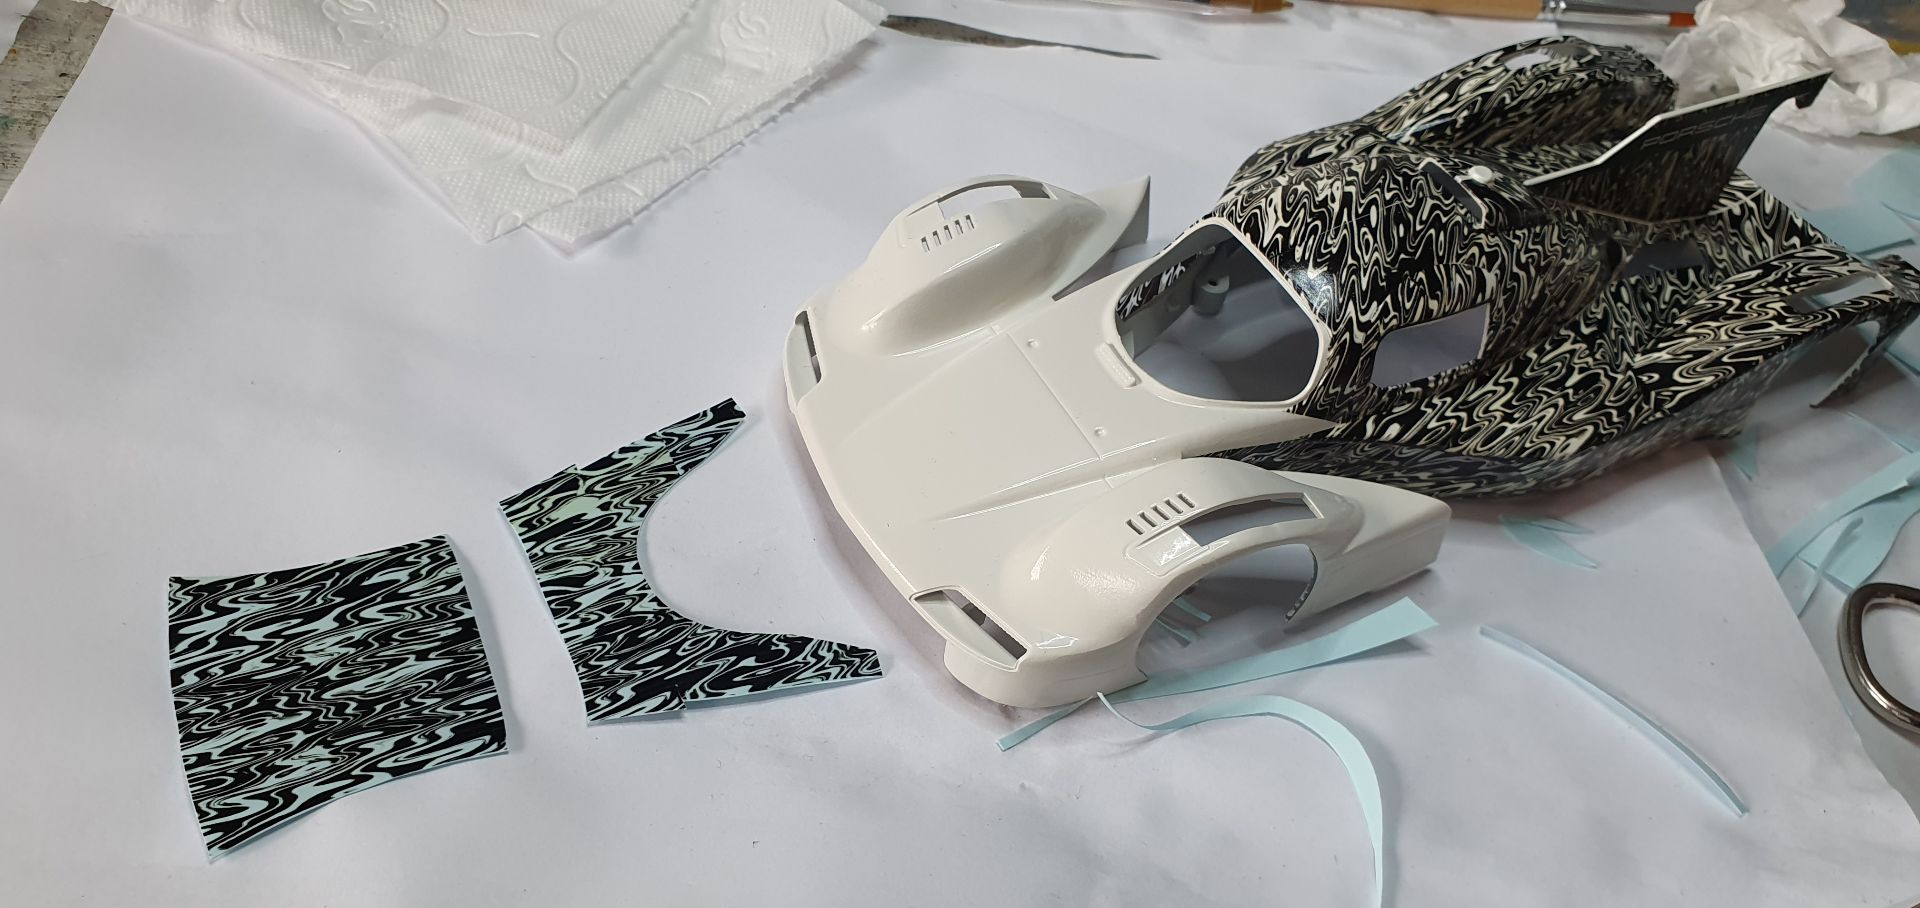
Starting with the roof, so we can work our way outward. I often decals that will fit together, in the water and on the model at the same time. That way it is easier to slide them both around untill they match, and are on the right position. As long as you keep them wet, you can play around with them for a long time so it's easy to work with 2 or 3 decals at the same time. I did this a lot on this car.
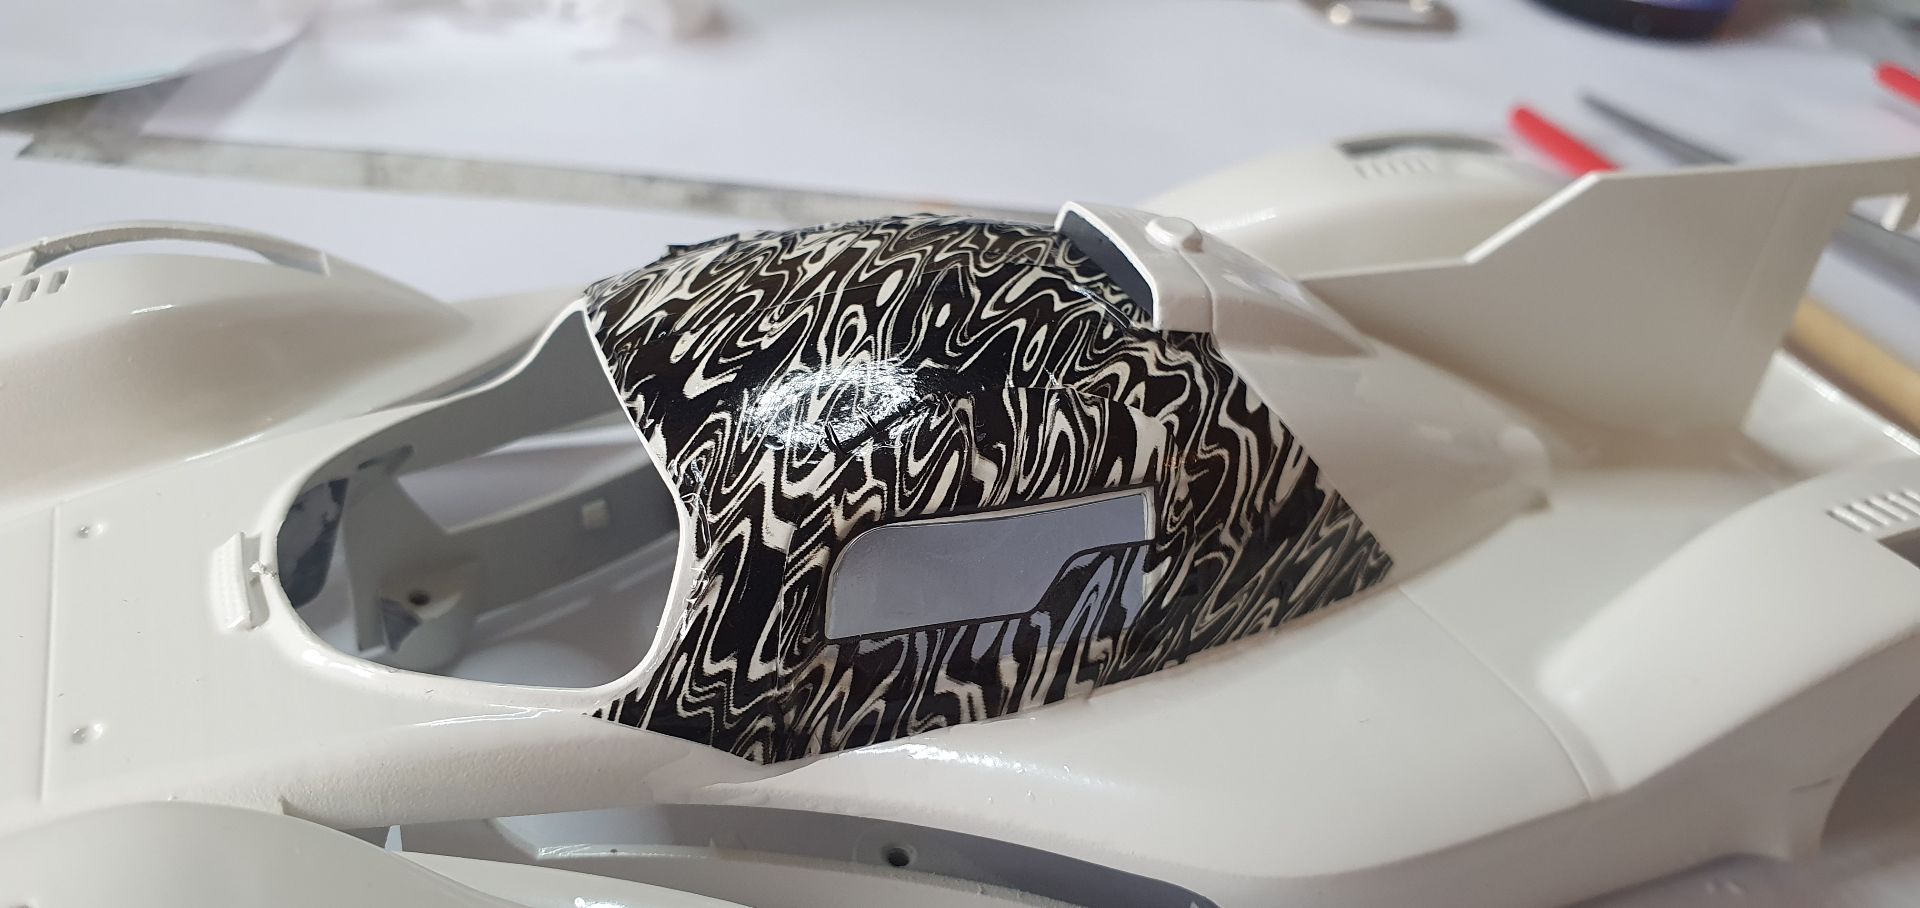
It is correct that the pattern on the doors and the pattern on the roof, do NOT match. This is also the case on the 1/1 car.
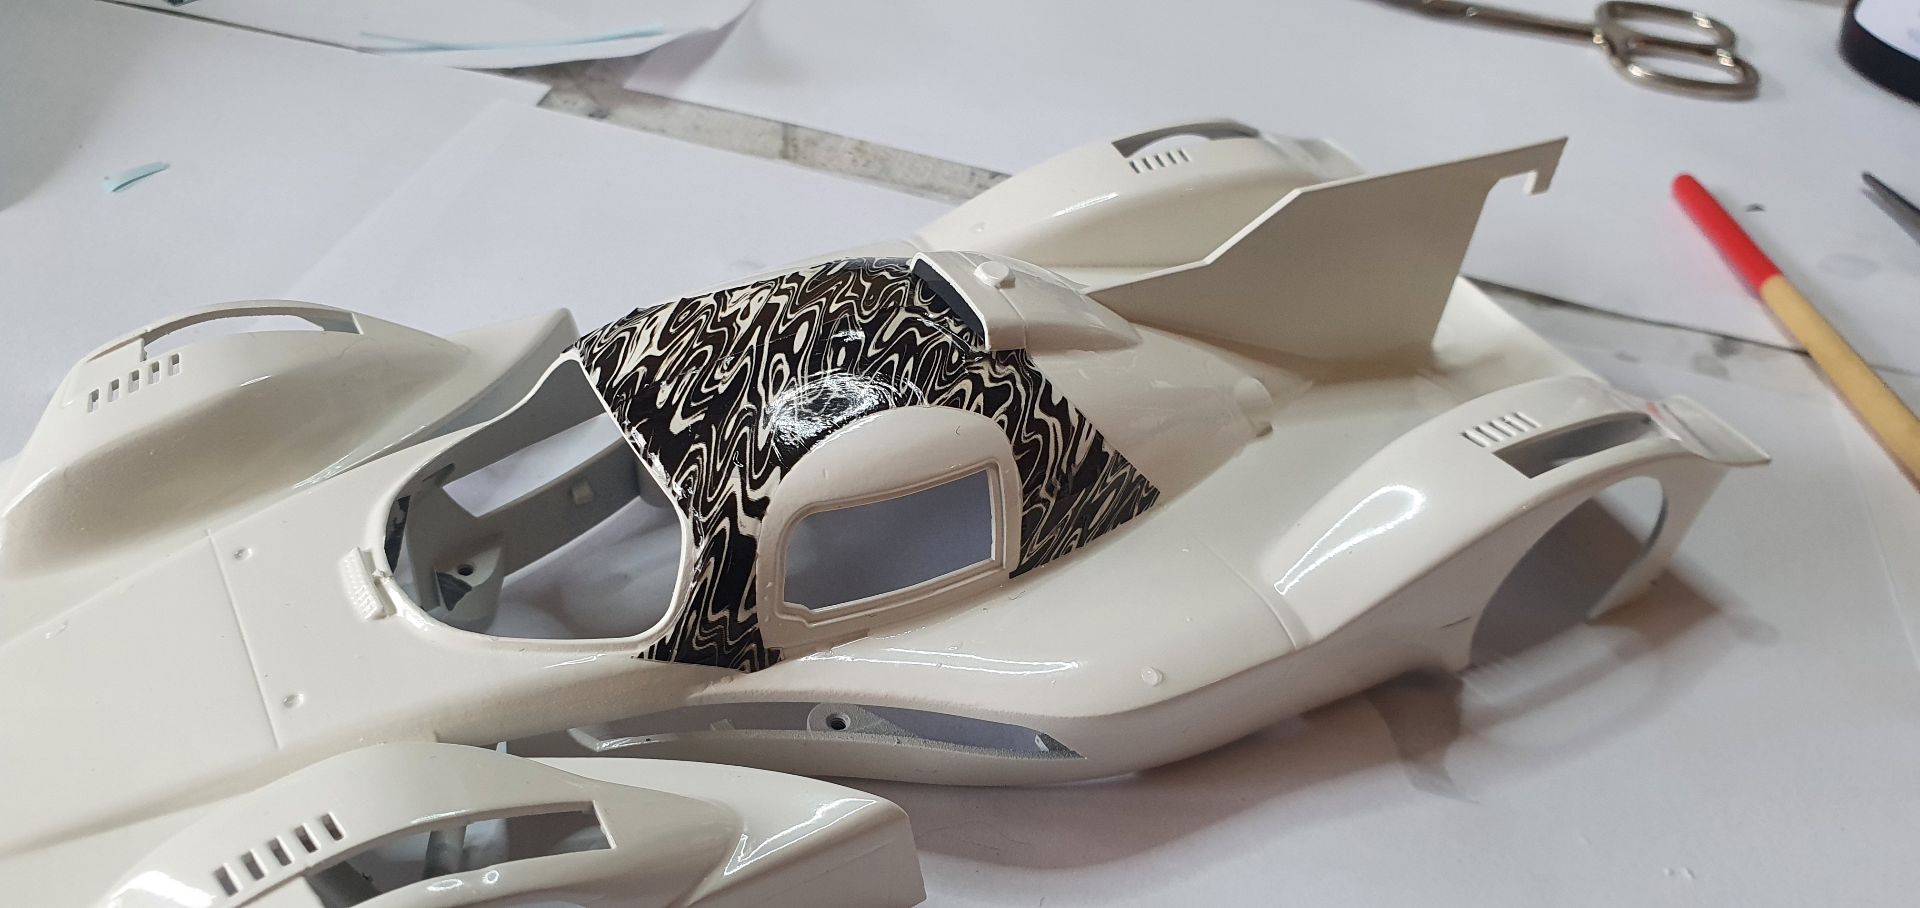
The small window frame is intended for the very first test session of the car. The later tests used the 'bigger' windows. If you are using the big windows (advisable), you can cut out this small frame when the decals have dried.
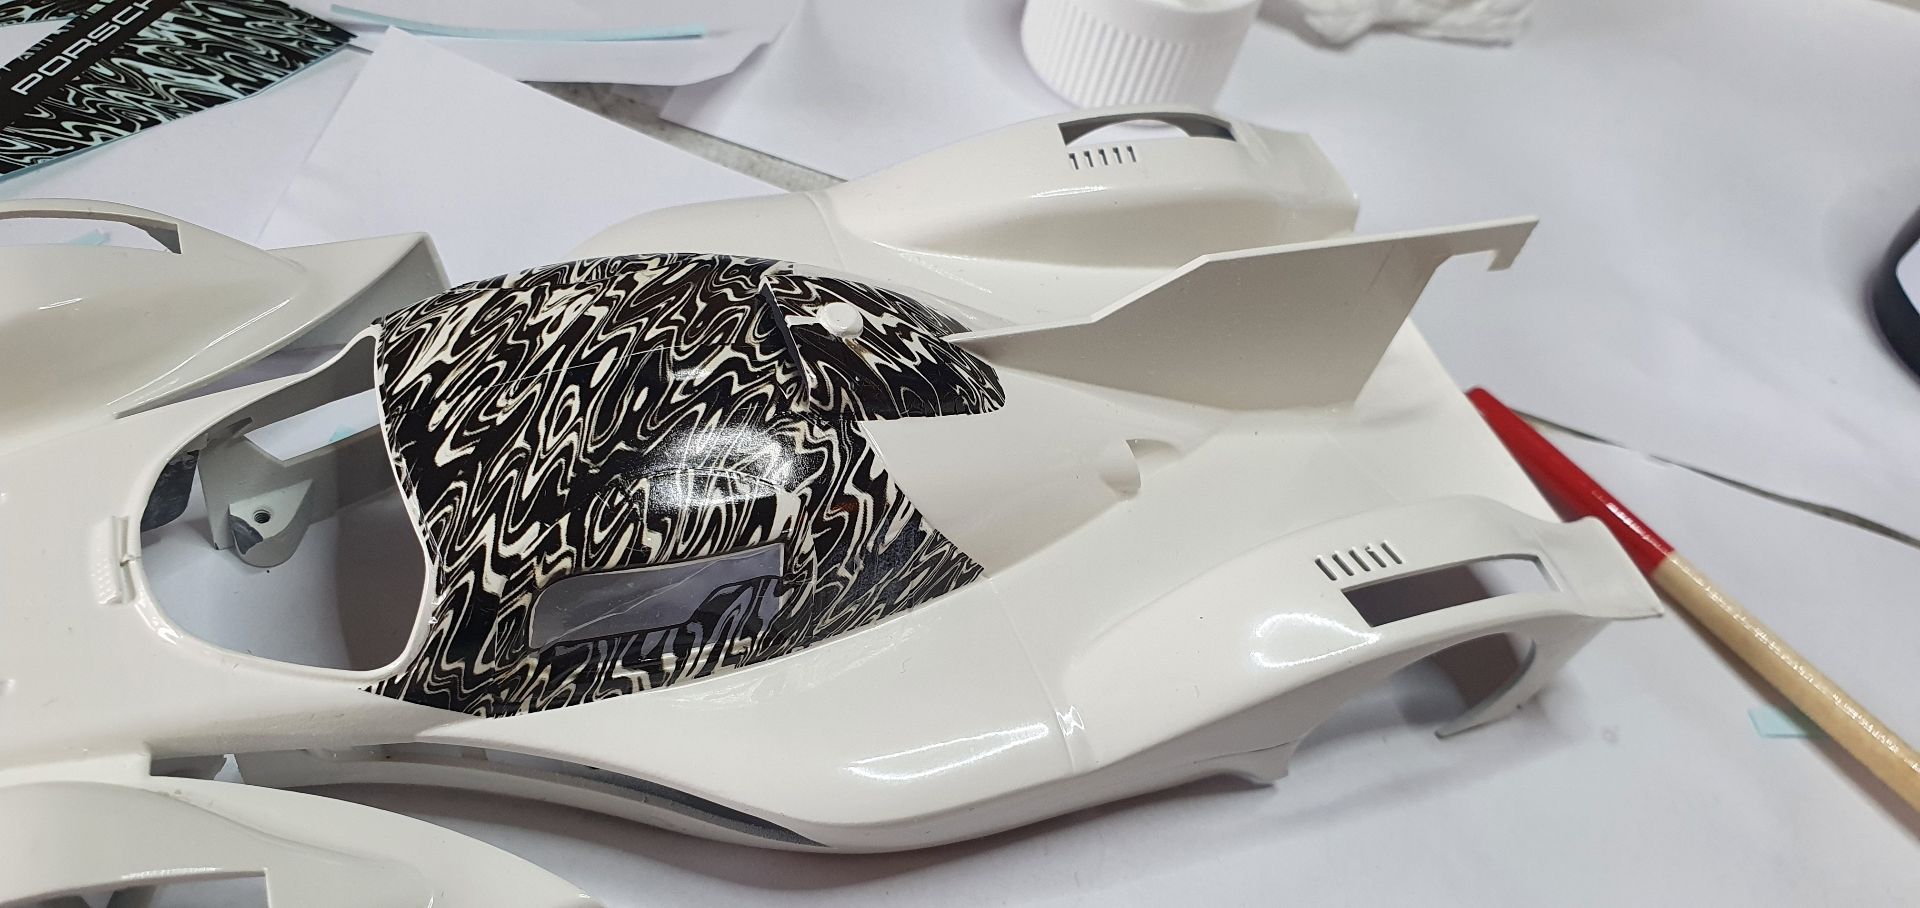
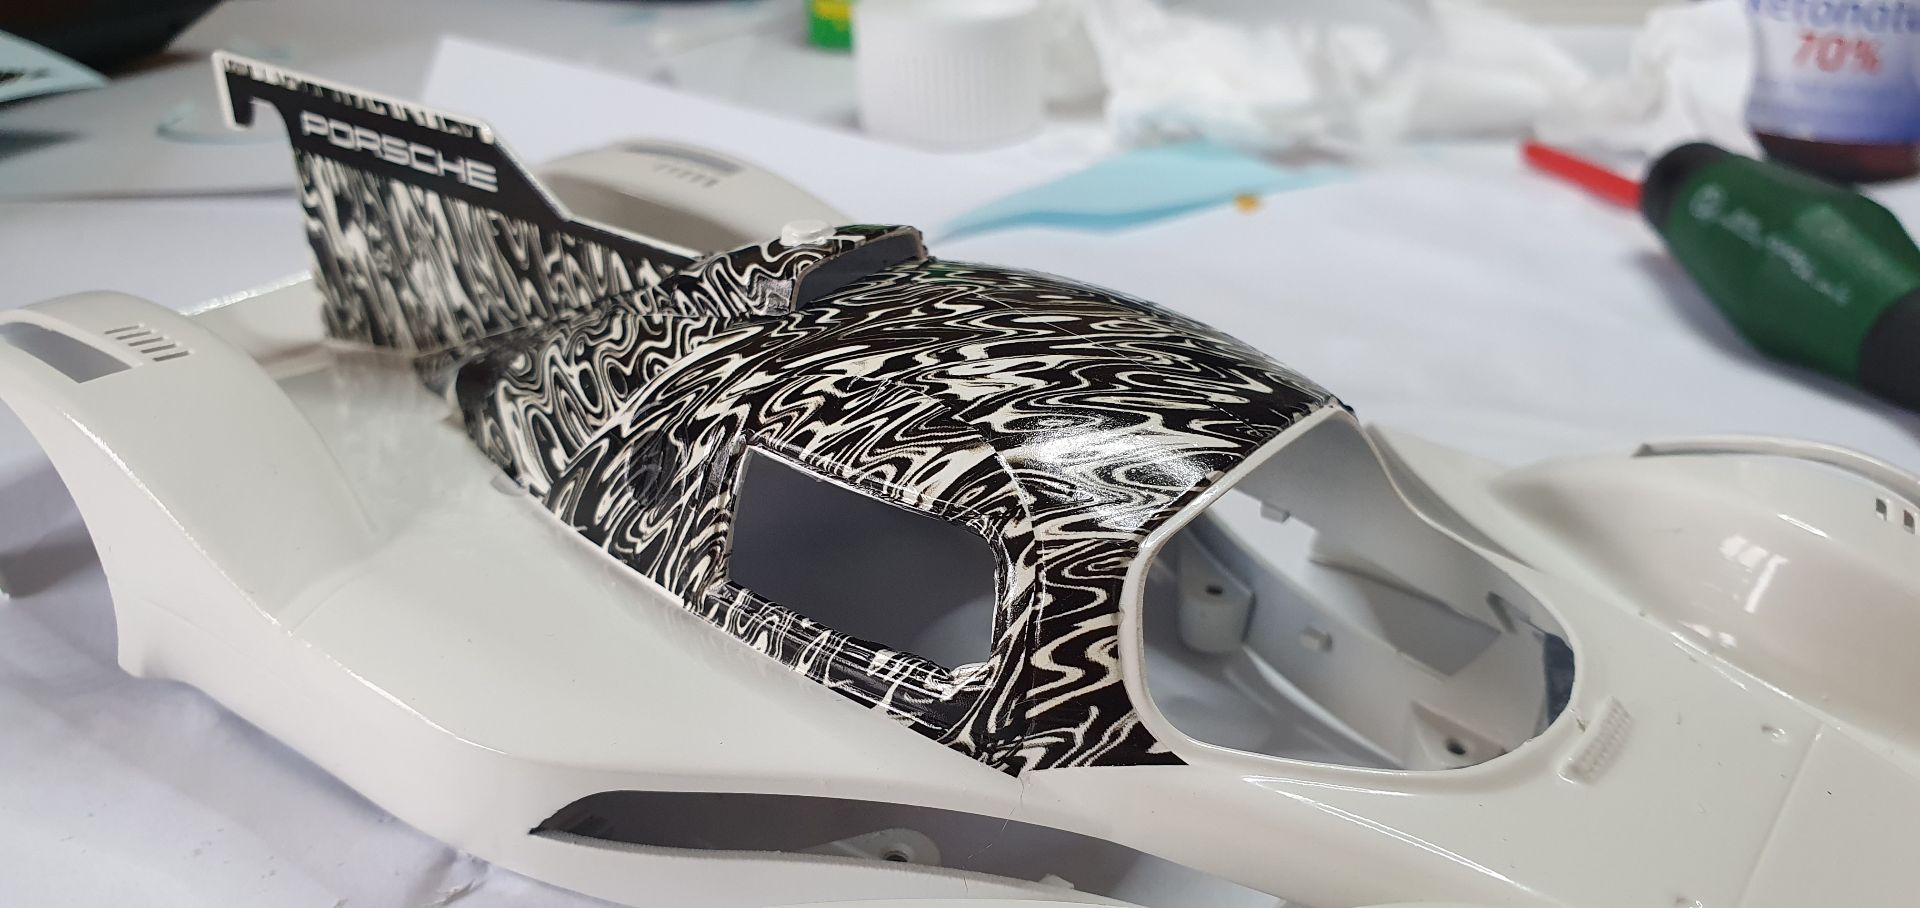
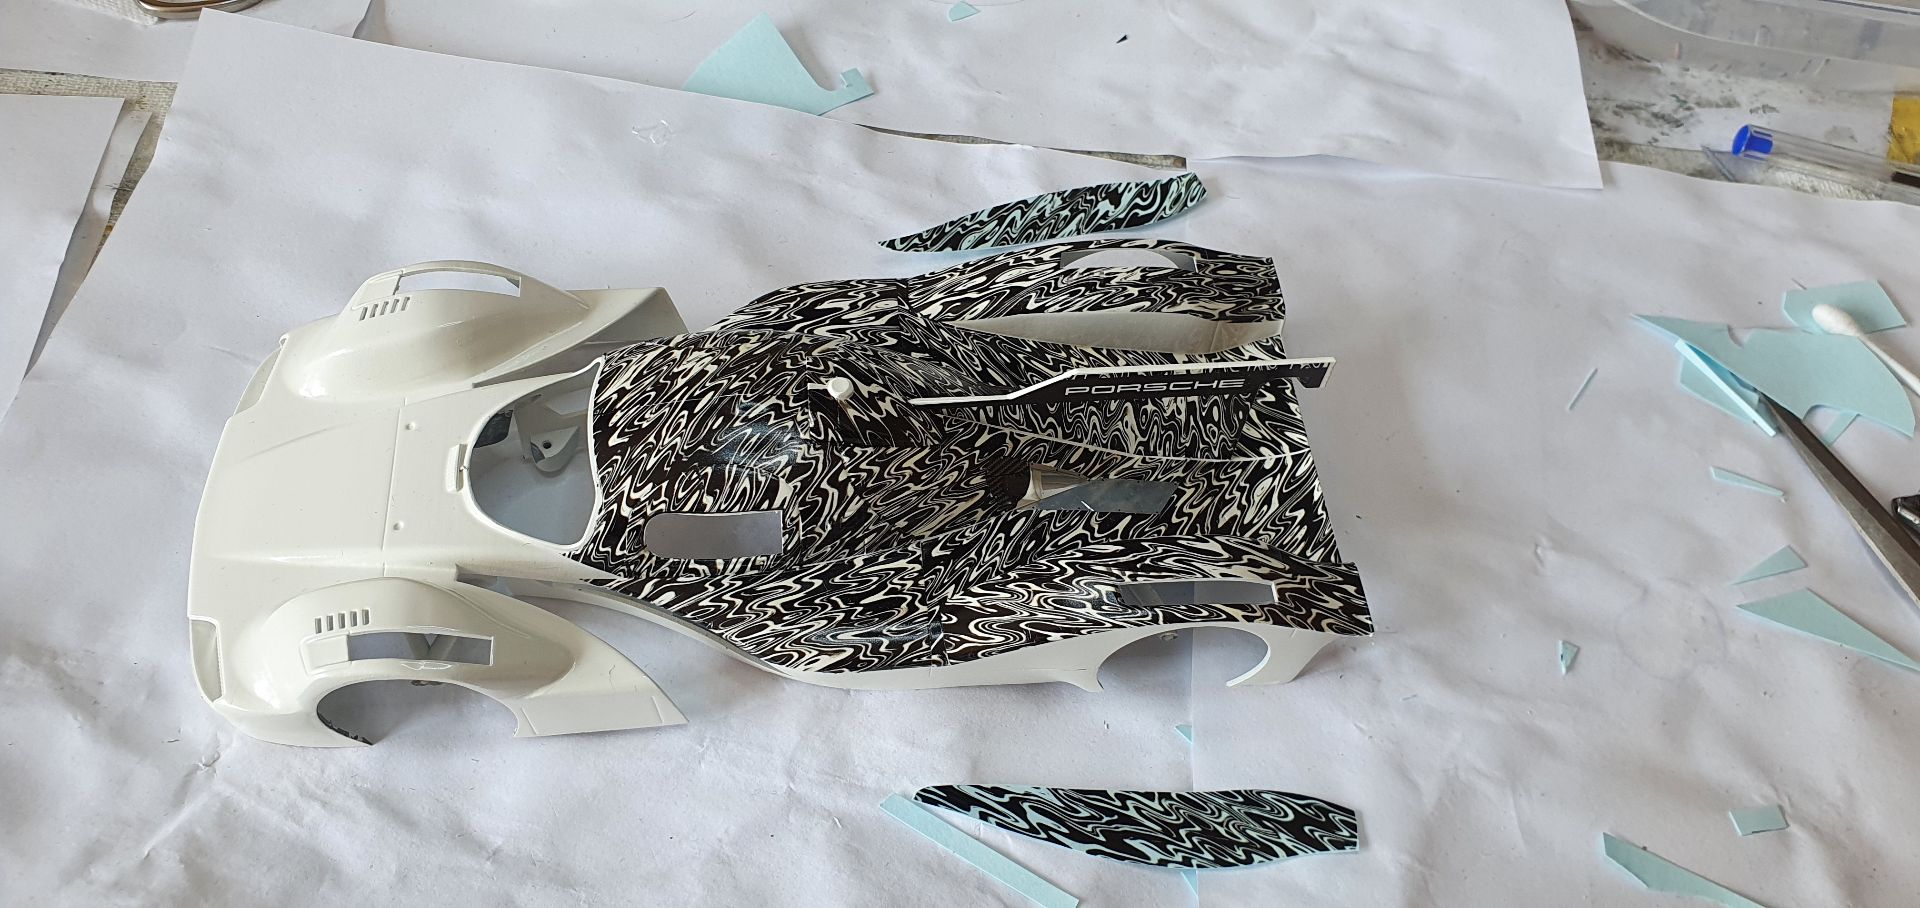
I have done the roof intake, the back of the roof and the fin, almost at the same time.
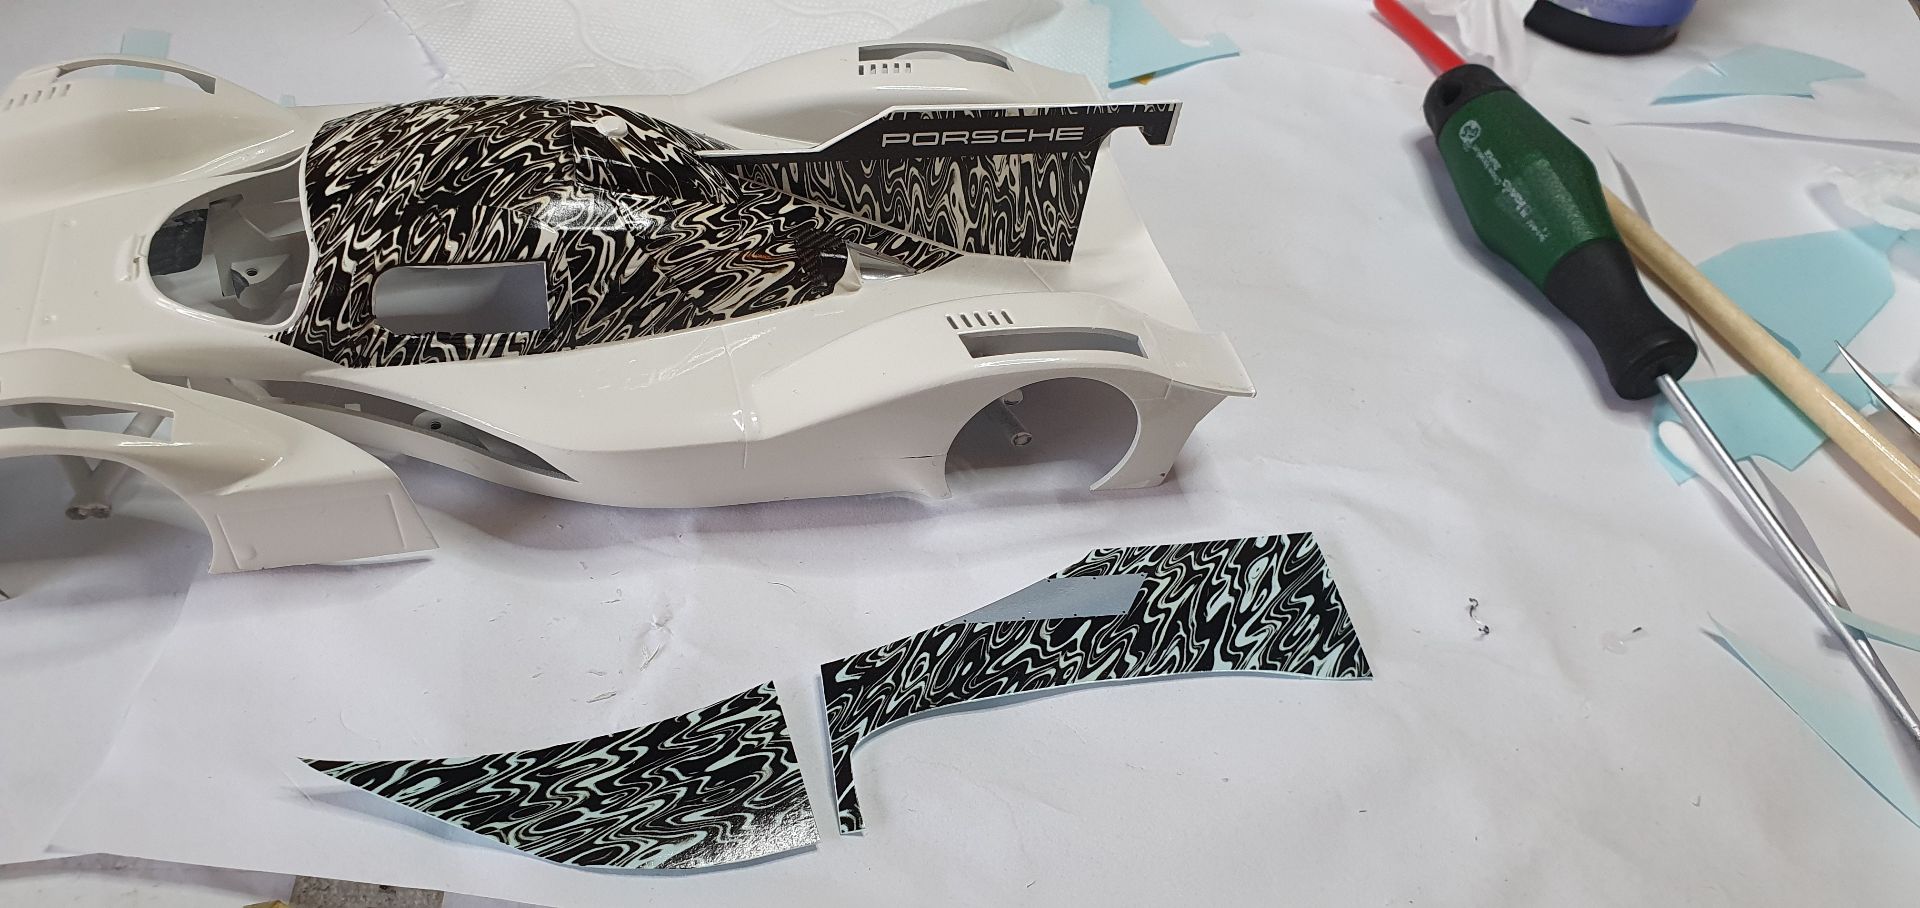
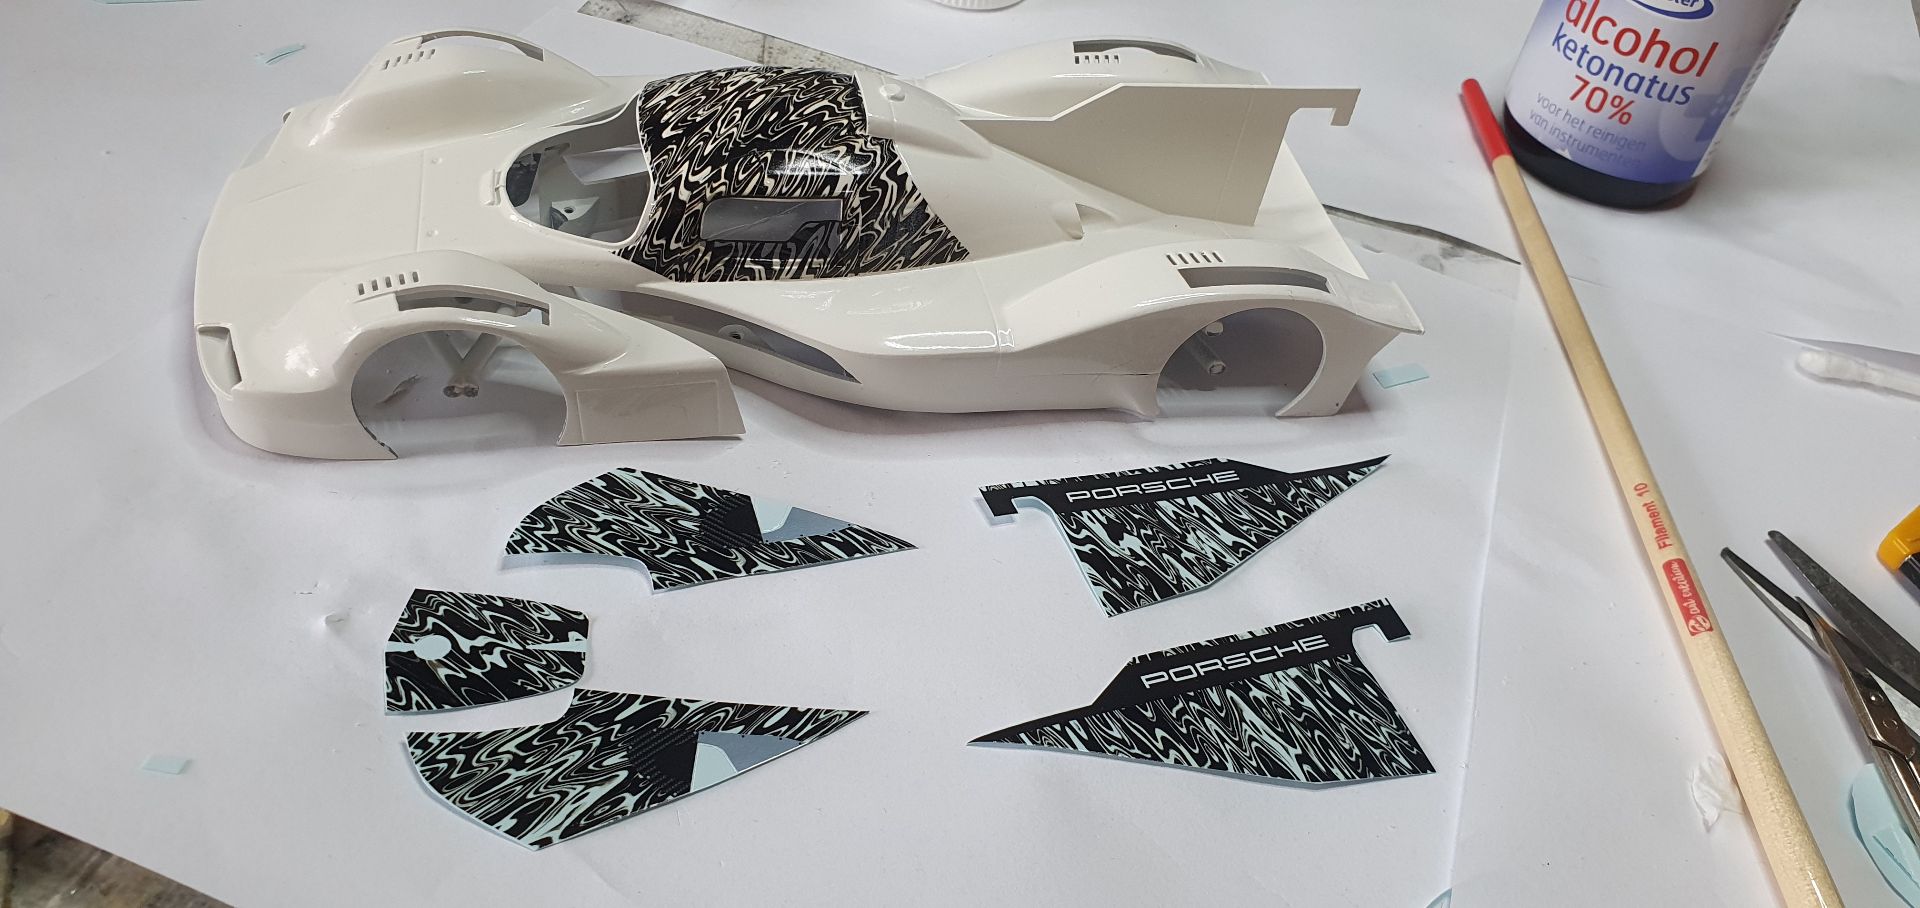
Next I did the side of the interior, and the part between the roof and the wheel arches.
Repeat for the other side aswell.
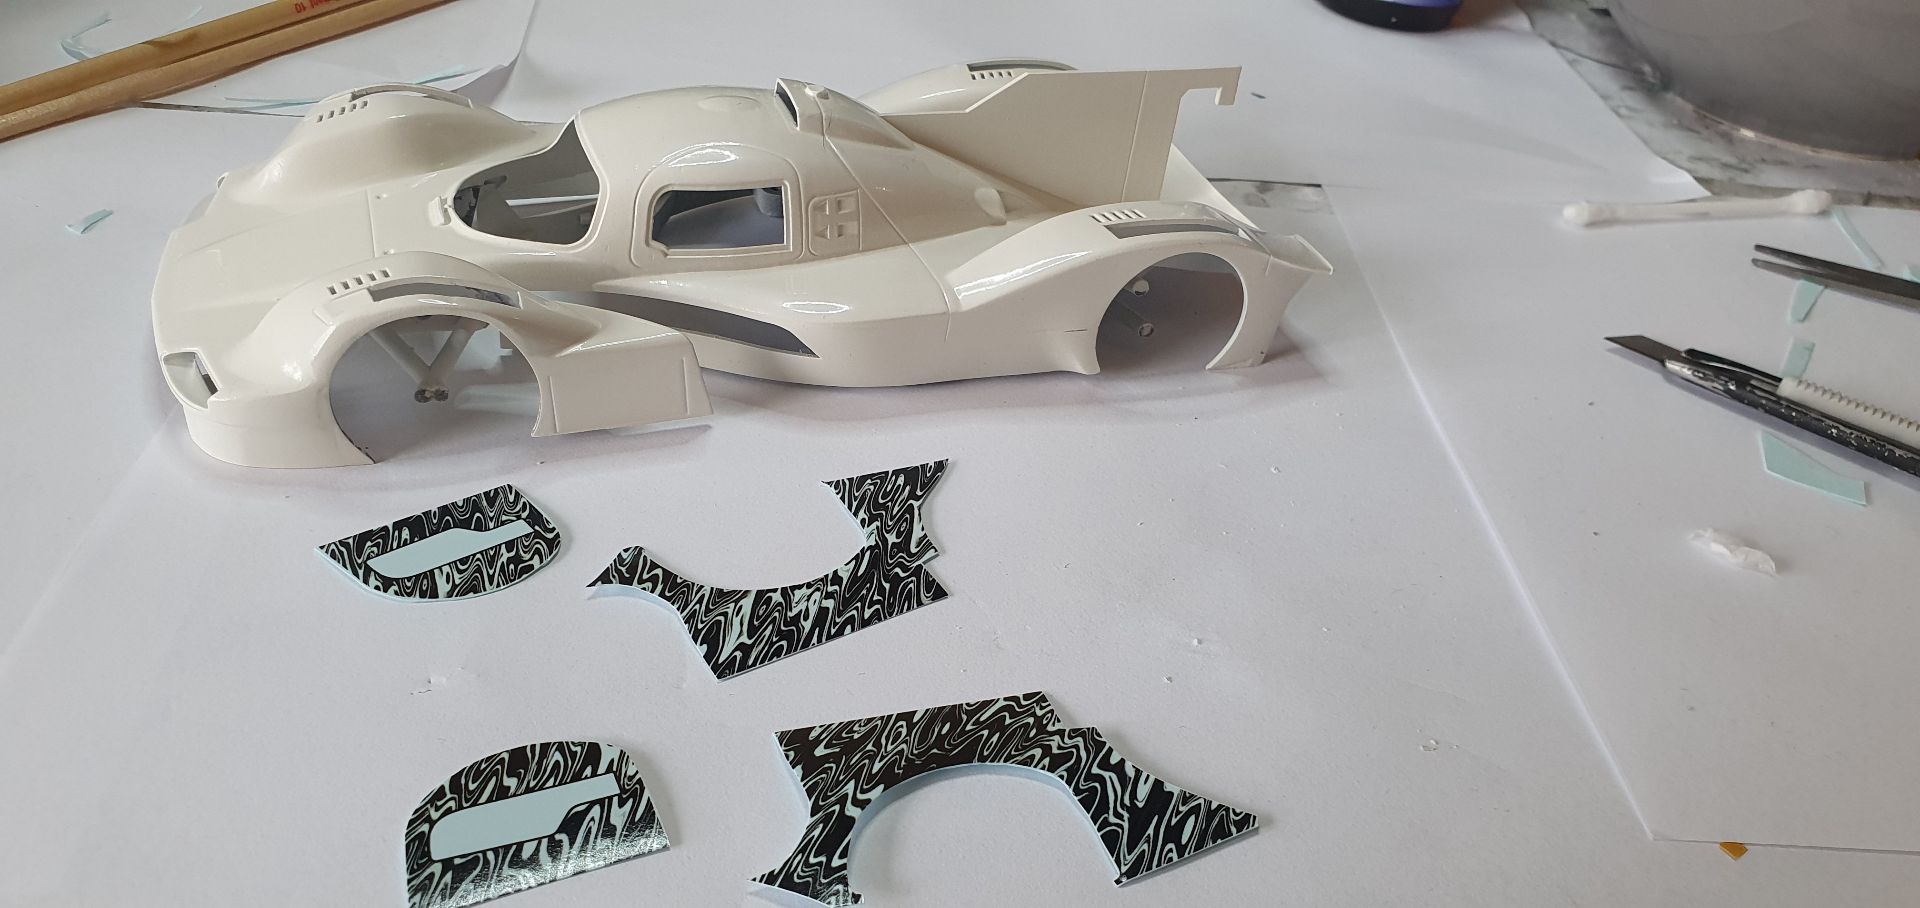
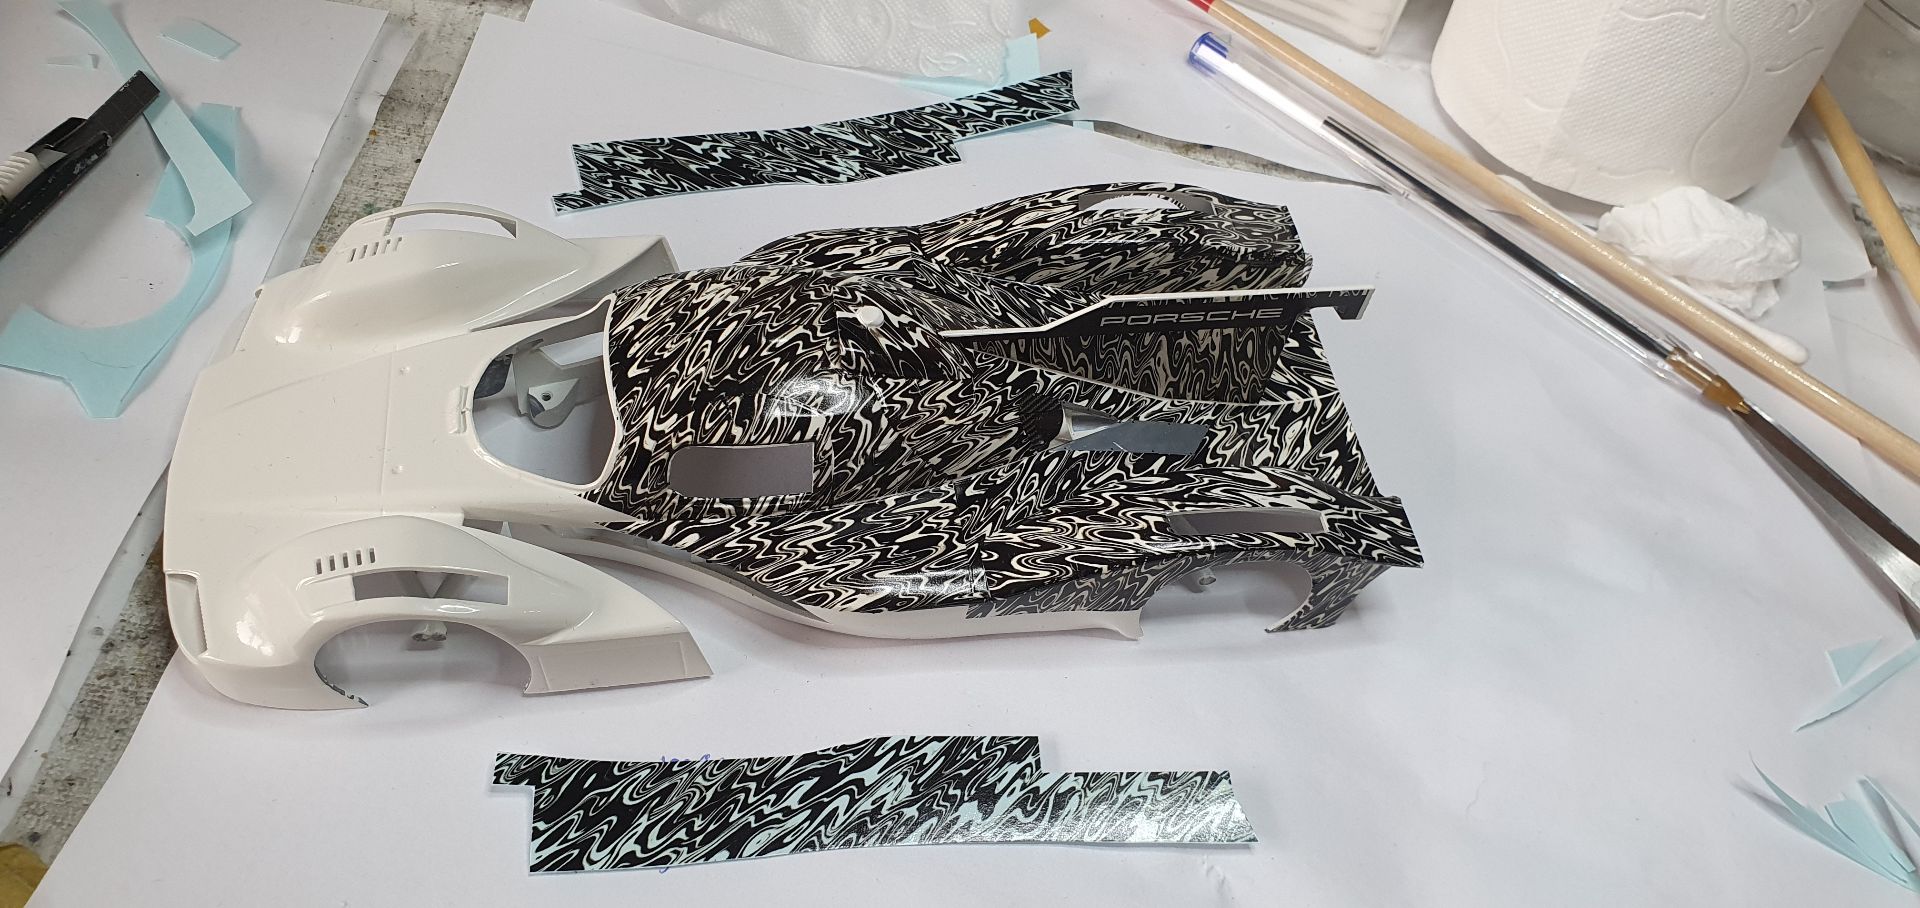
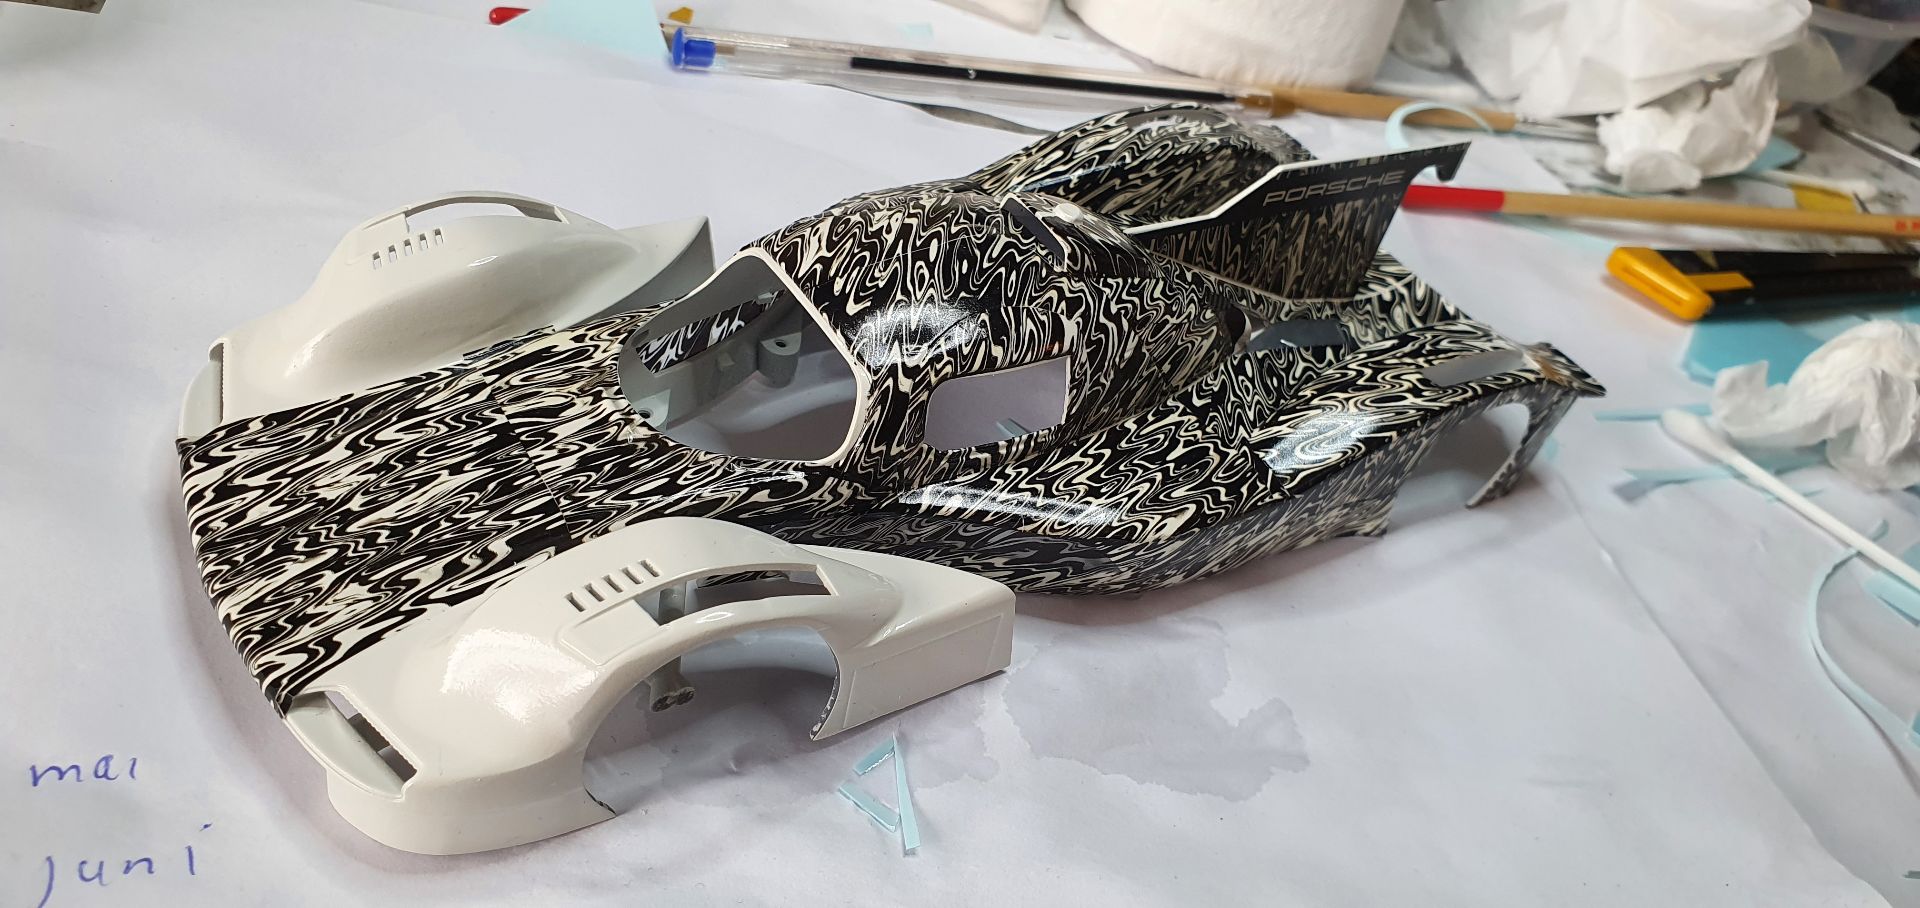
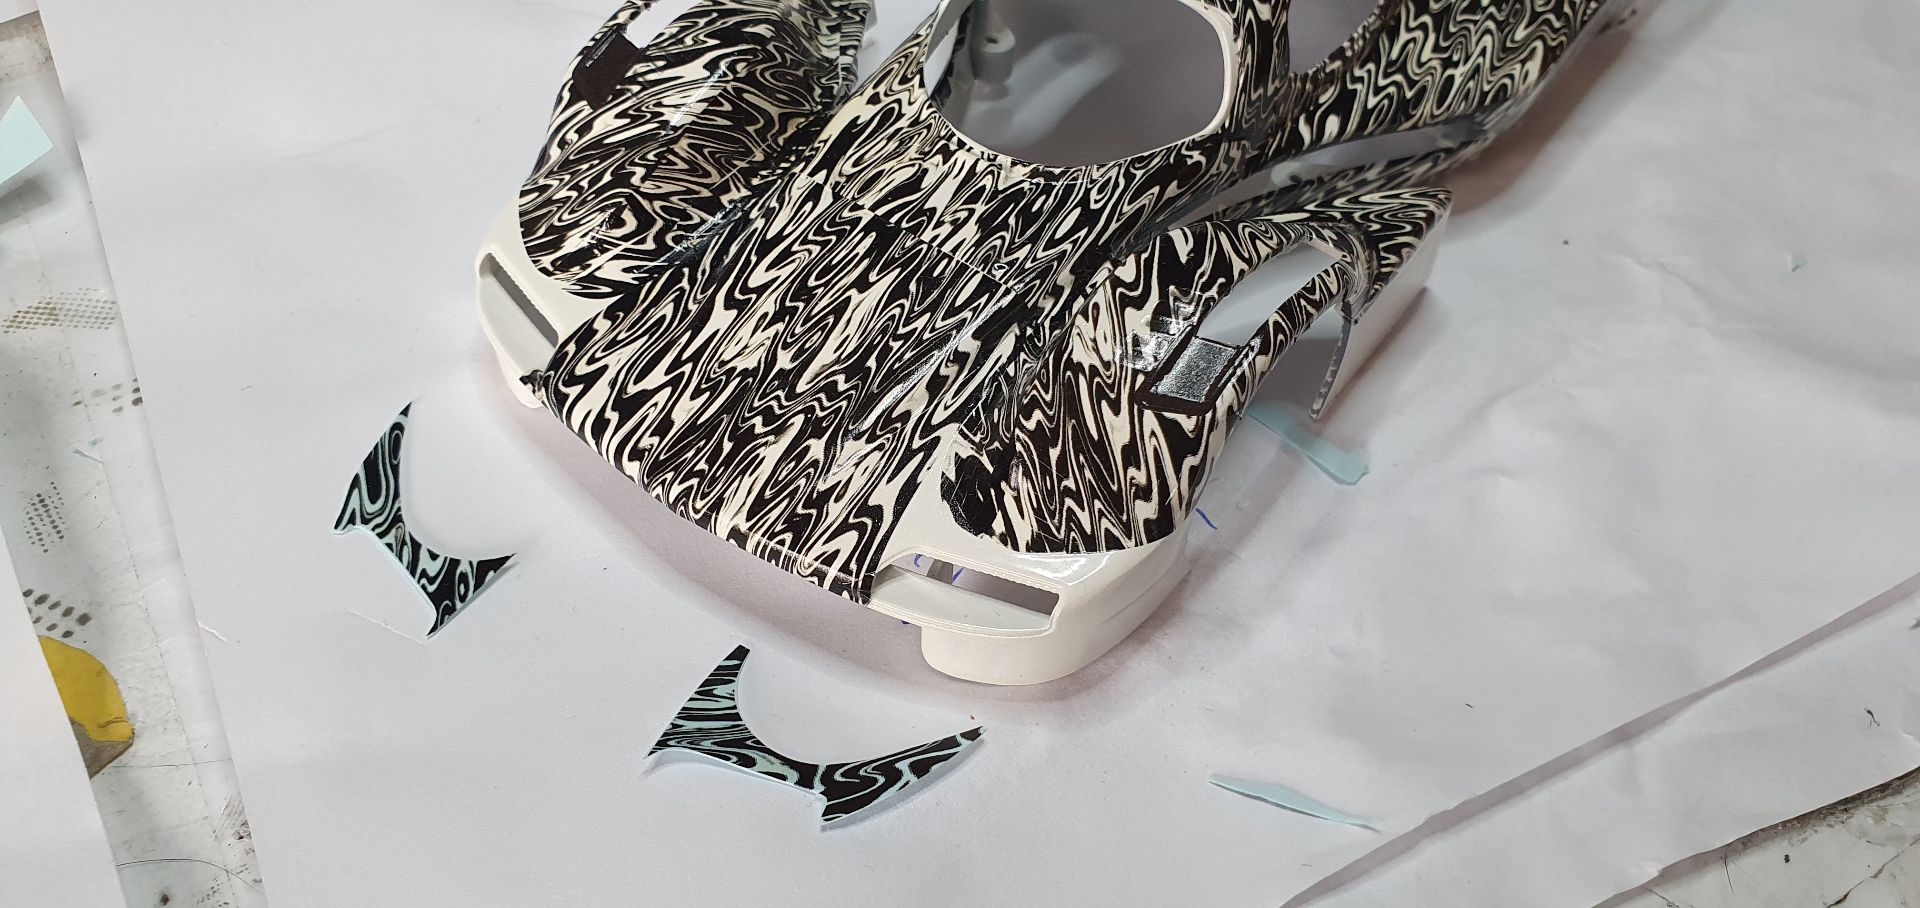
Next up are the rear wheel arches. I used the cutout for the rear wheel as reference, to make sure from this point I know where to go again.
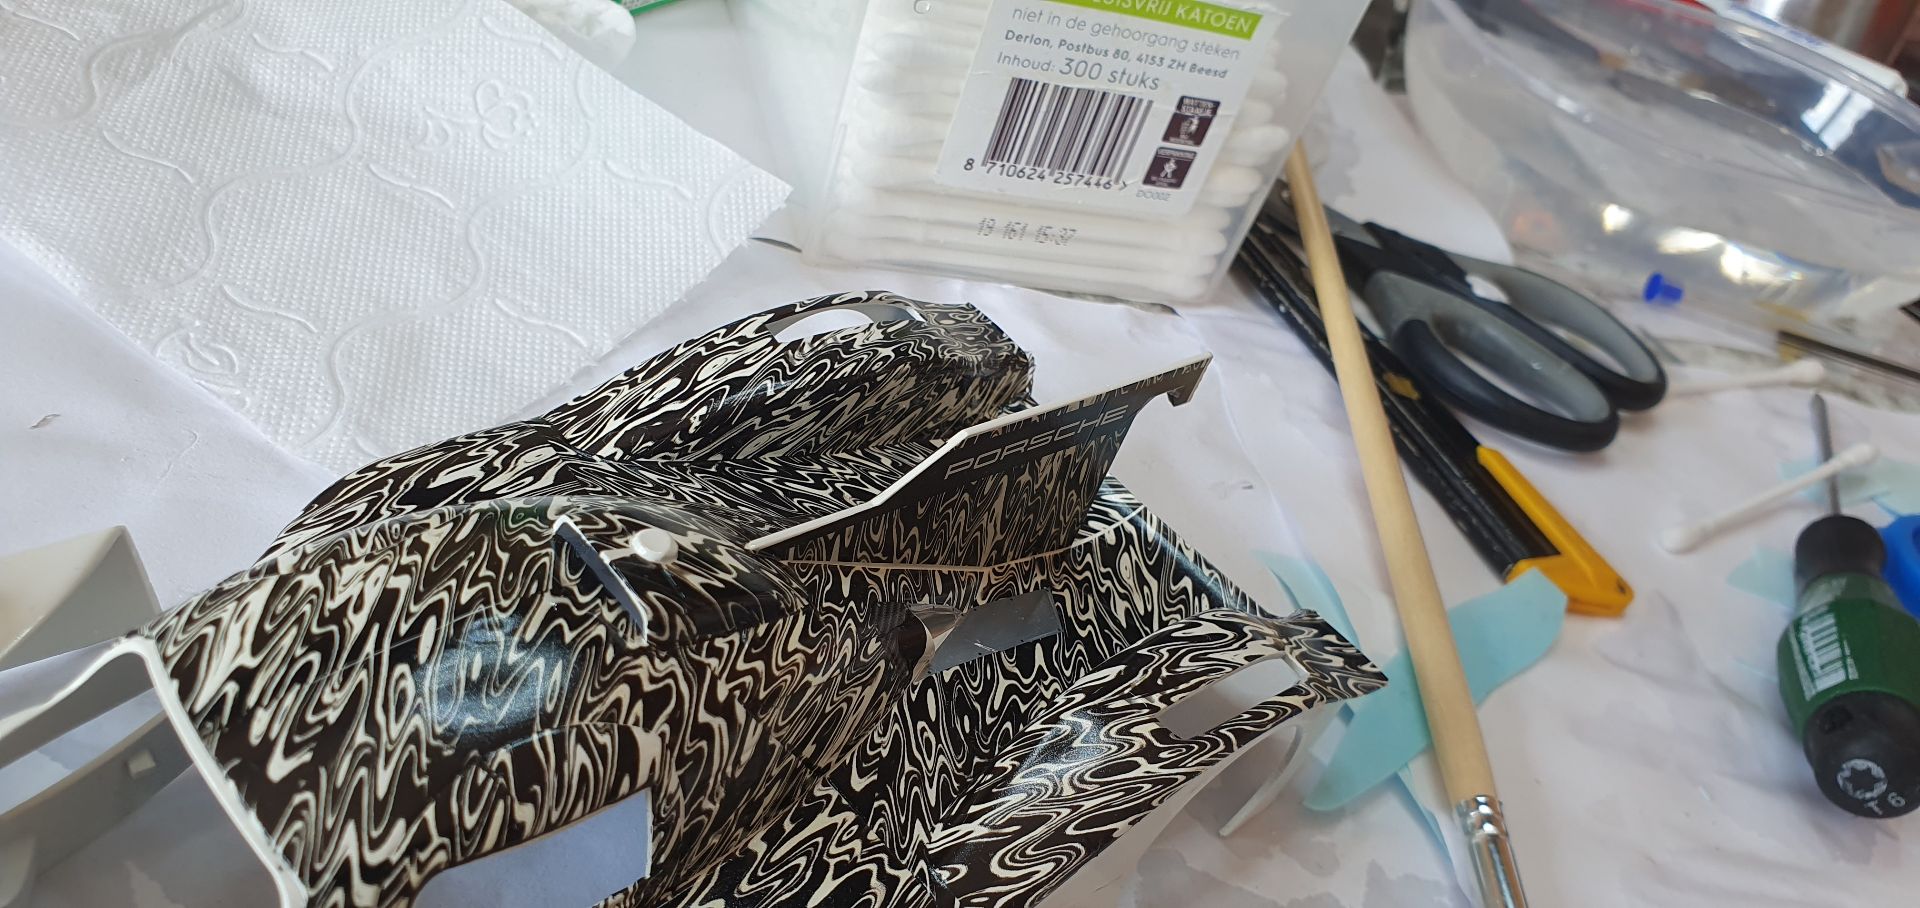
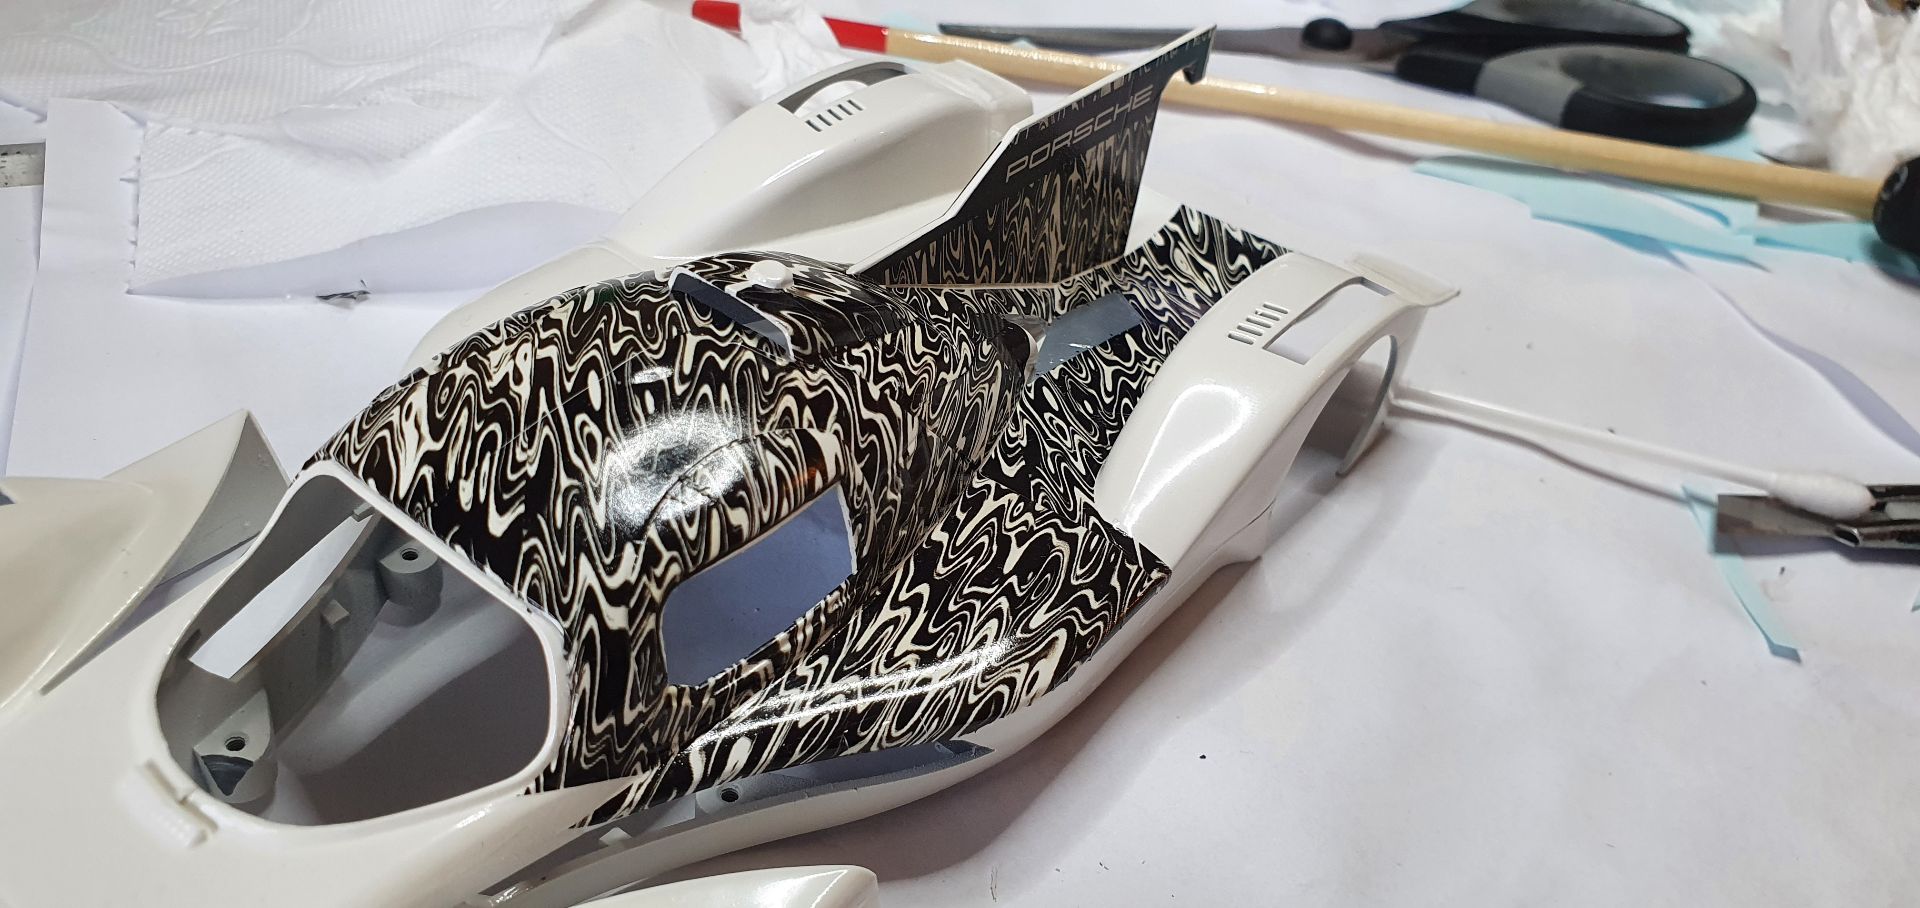
Now I have done the insides of the wheel arches. On my sheet, these were slightly to large, so I cut off about 1mm from the entire 'top' side.
Also, by doing these last in this area, any imperfections in placement will be the least visible.
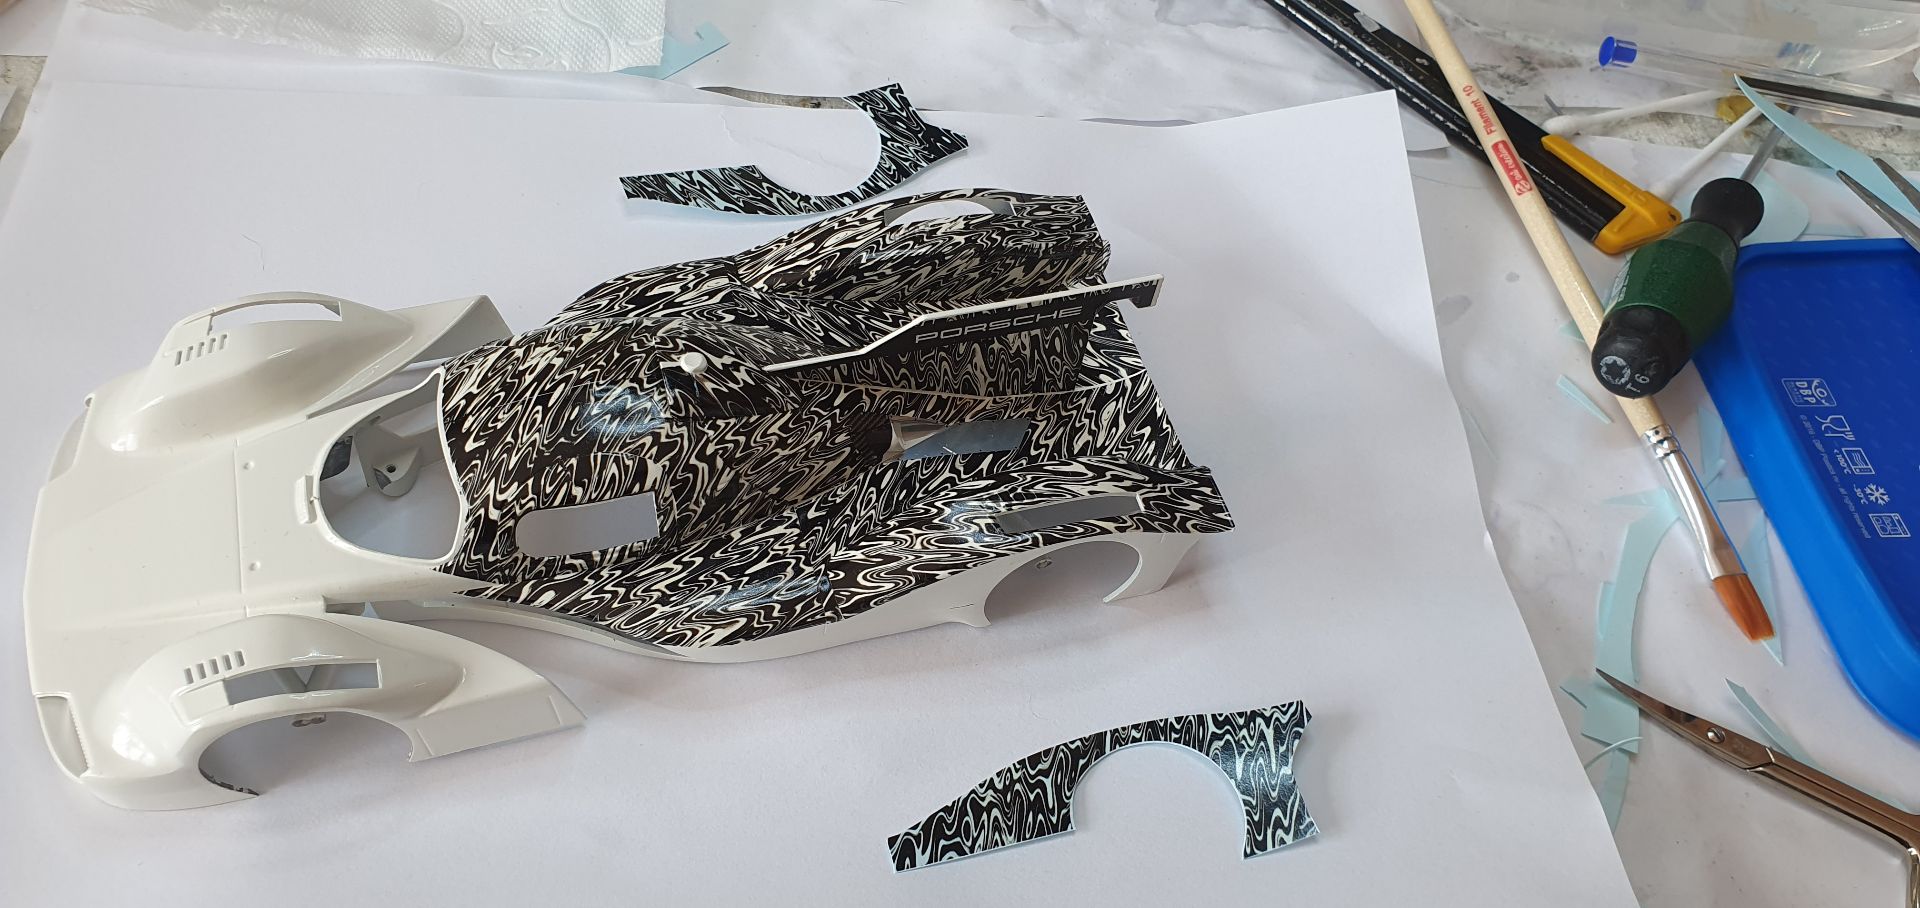

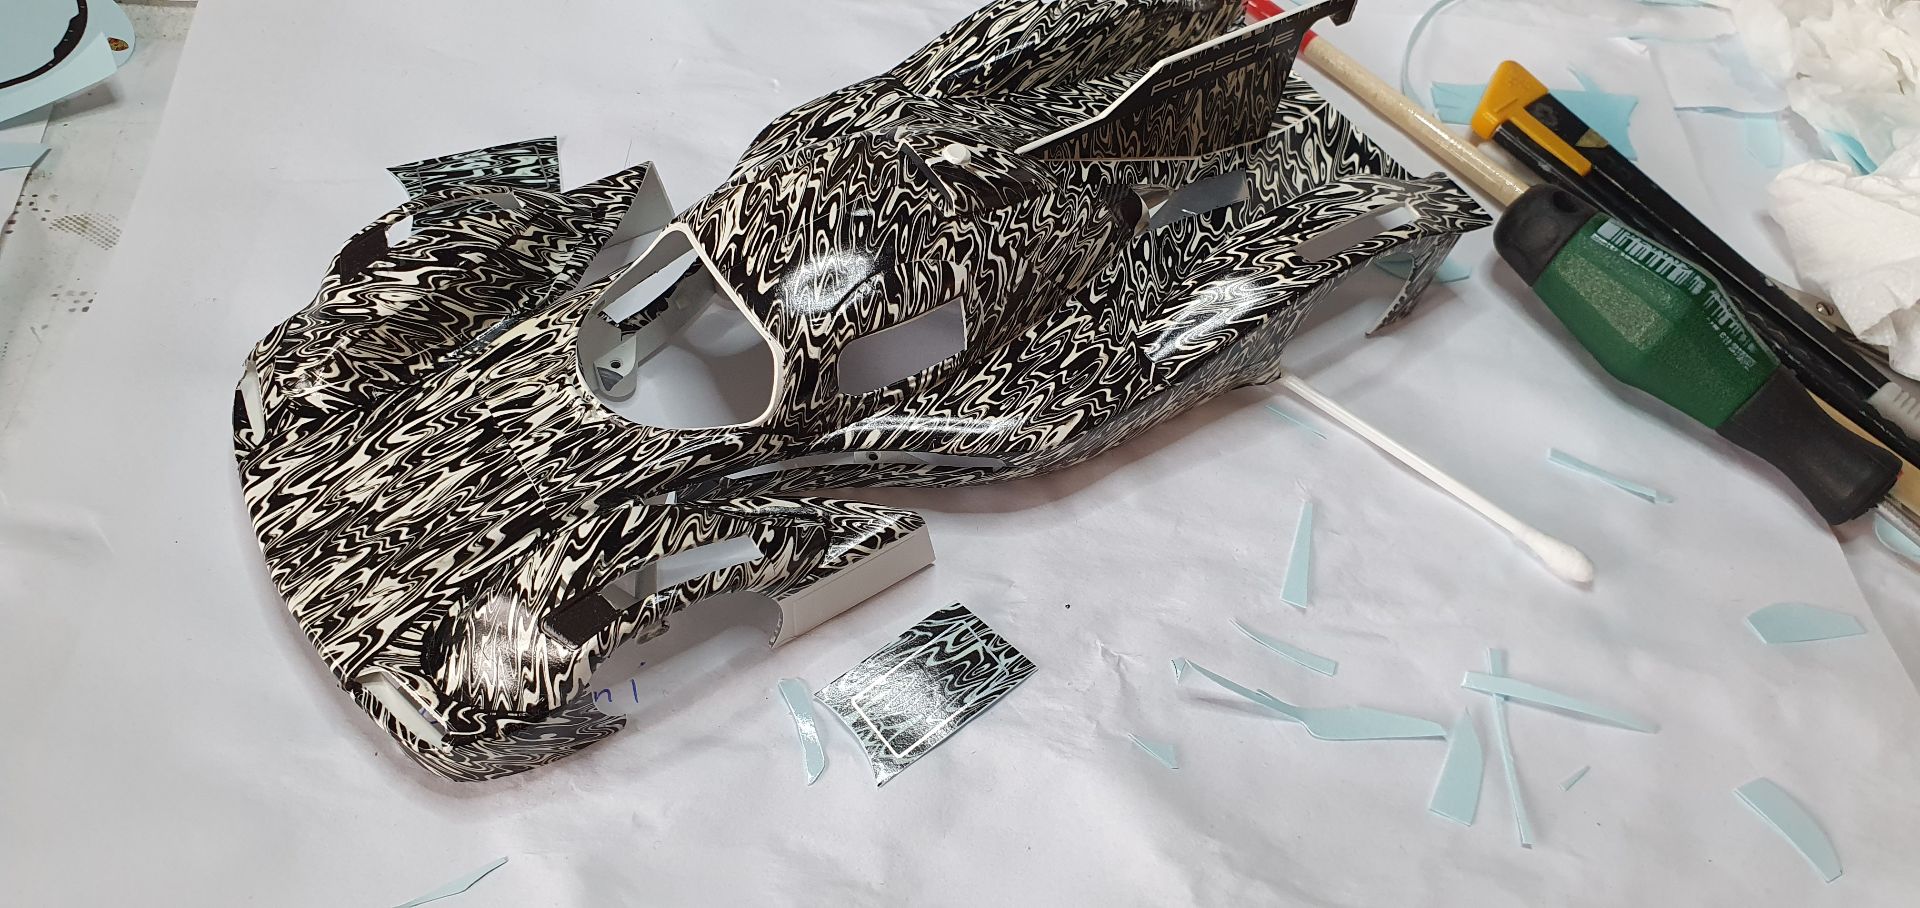
moving on to the sides
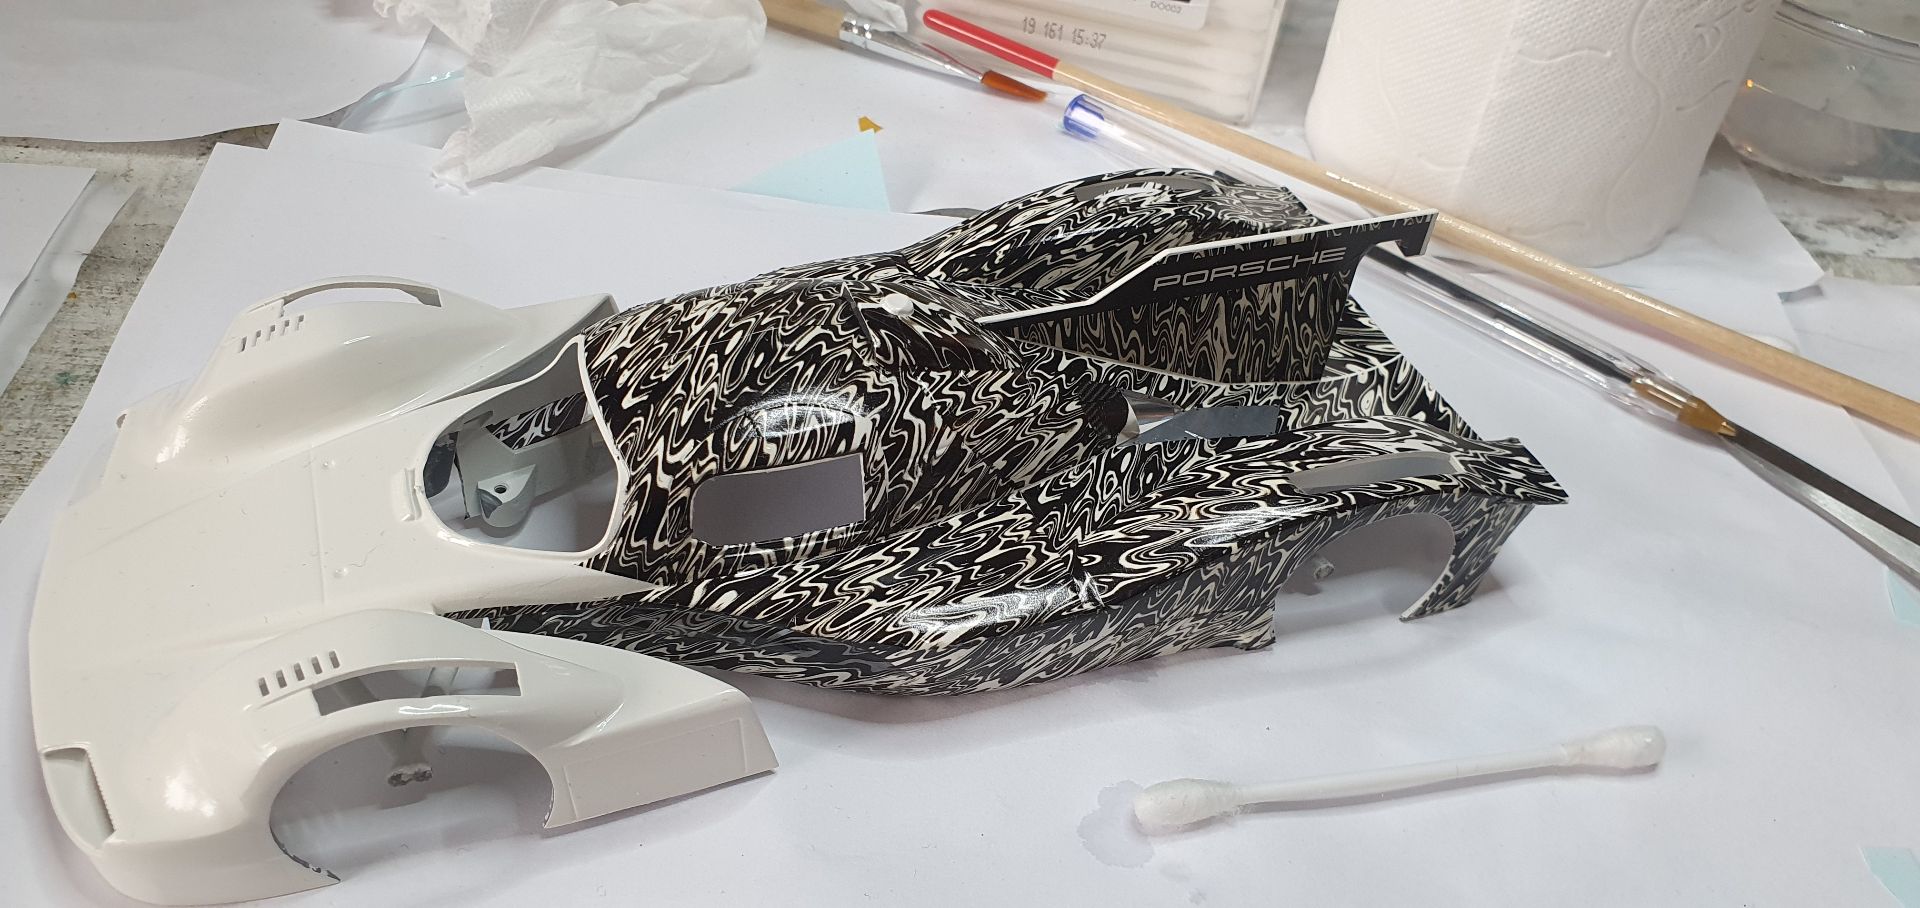
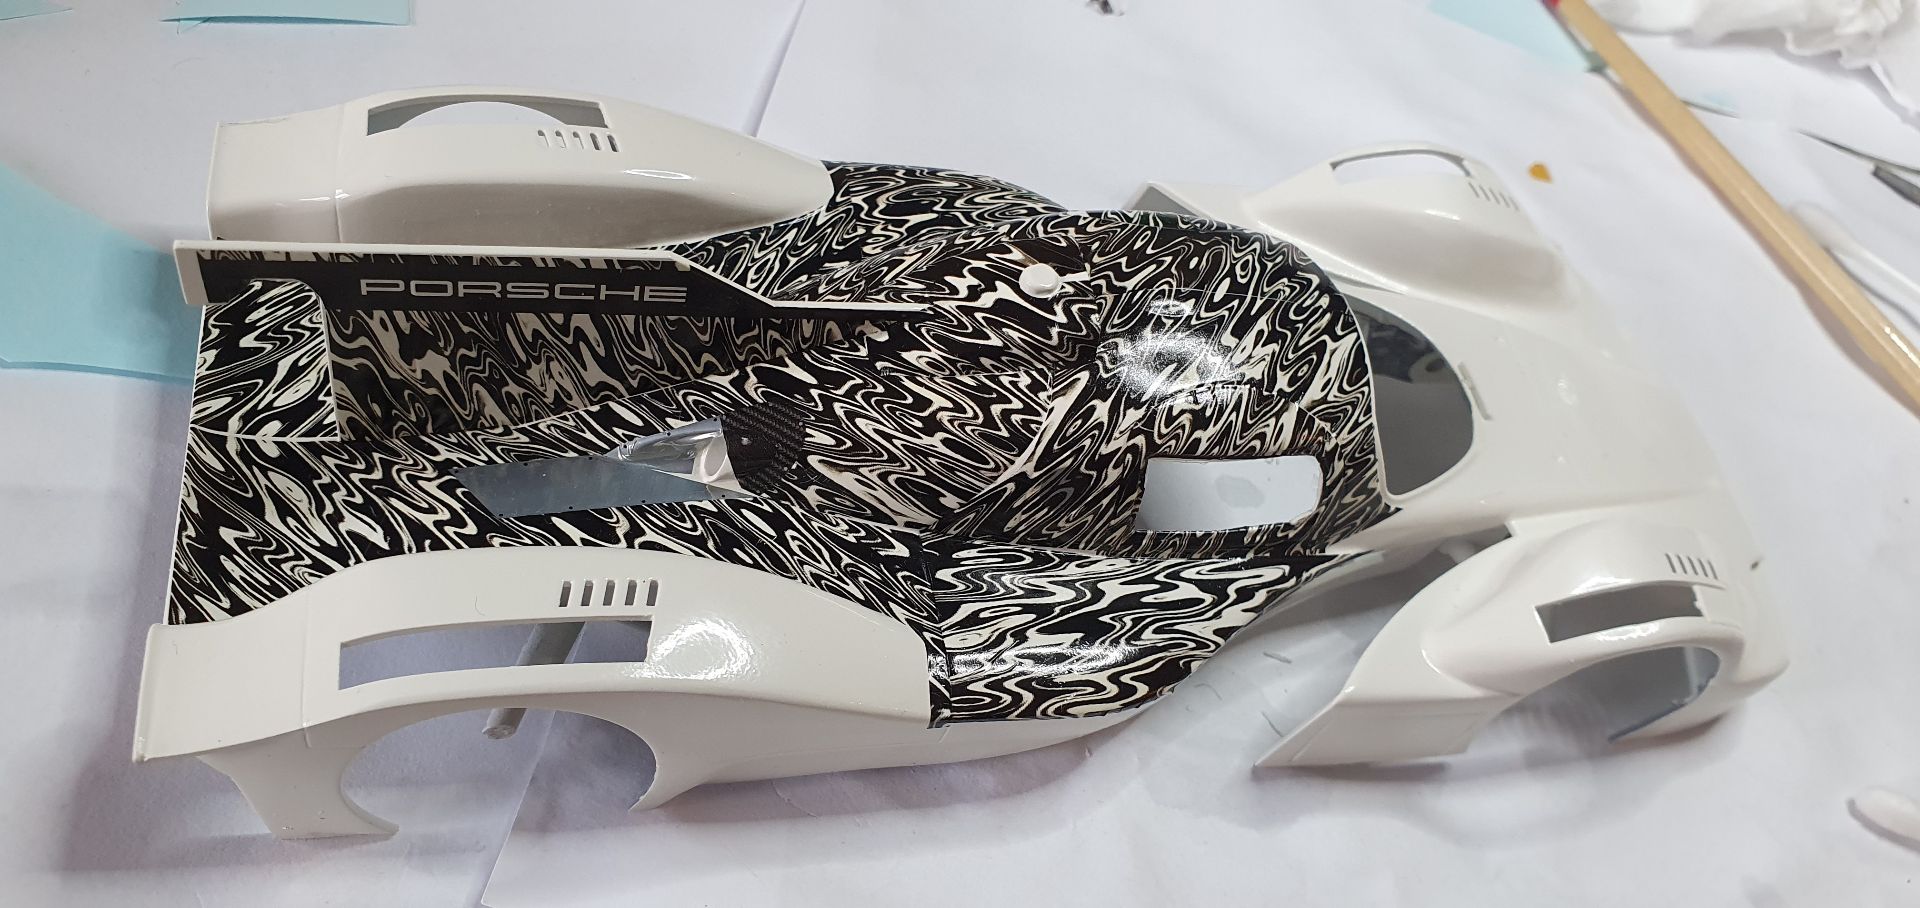
Yes, these next decals are difficult, because of the complex shape of the car in this area. I used the large air intake as reference.
Front is nice and easy
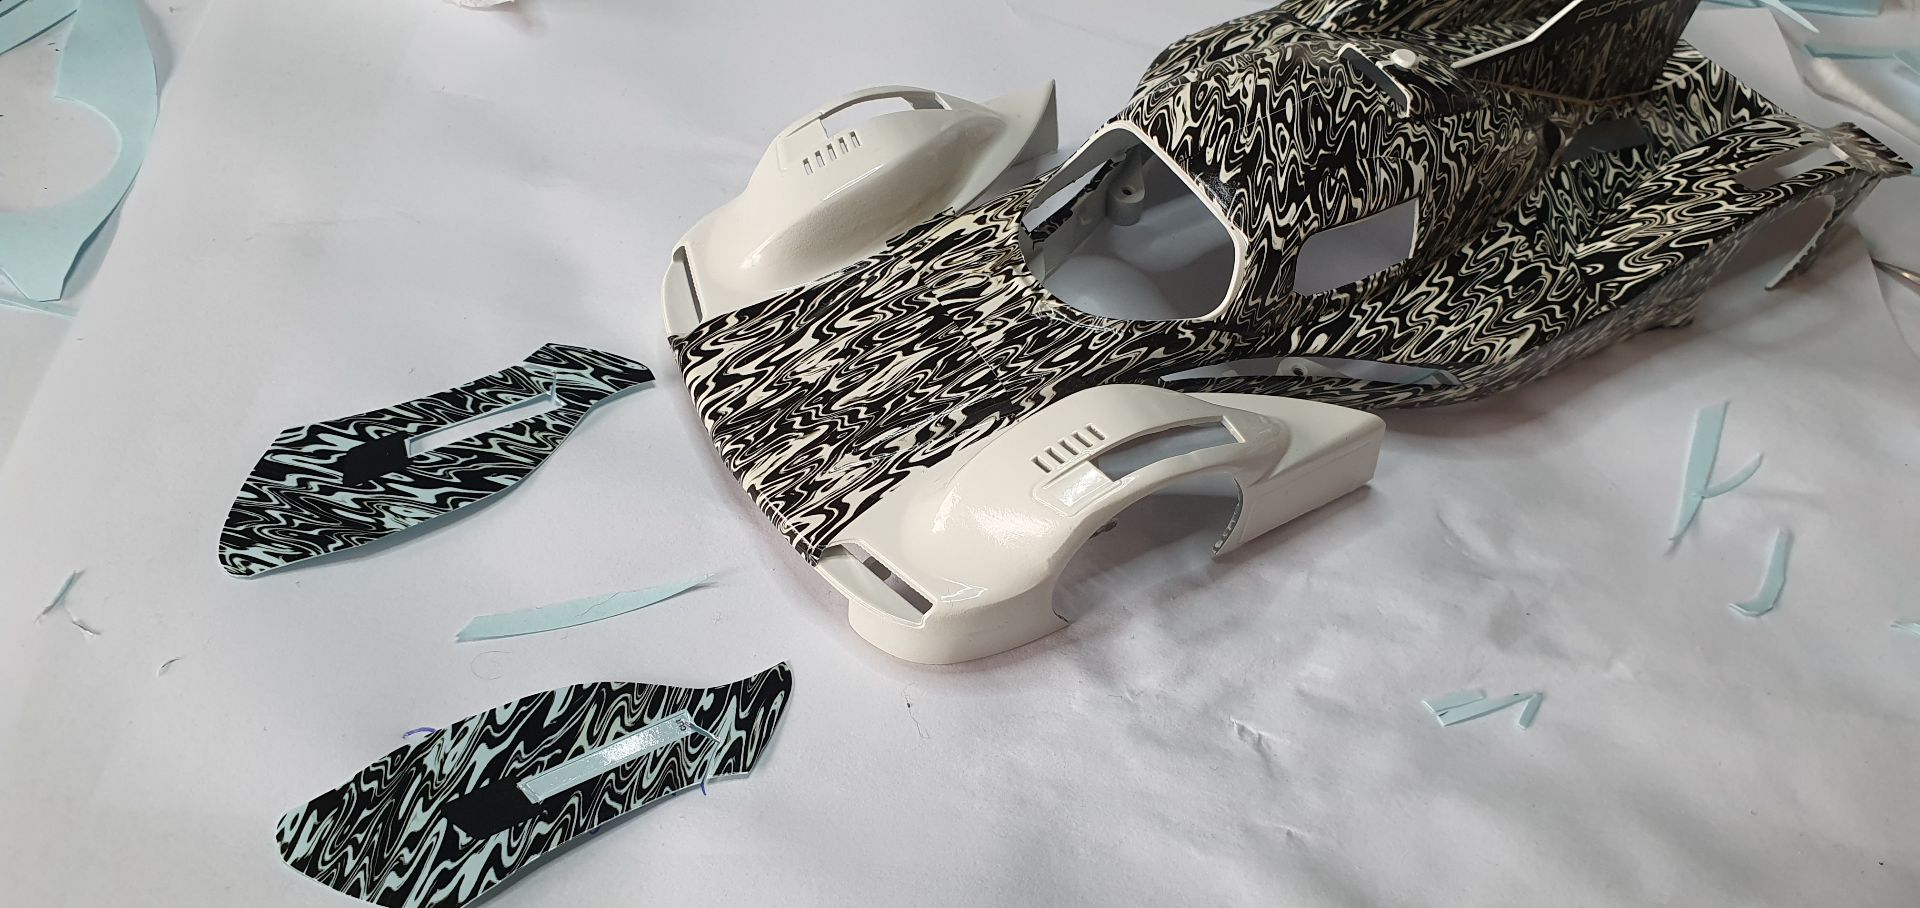
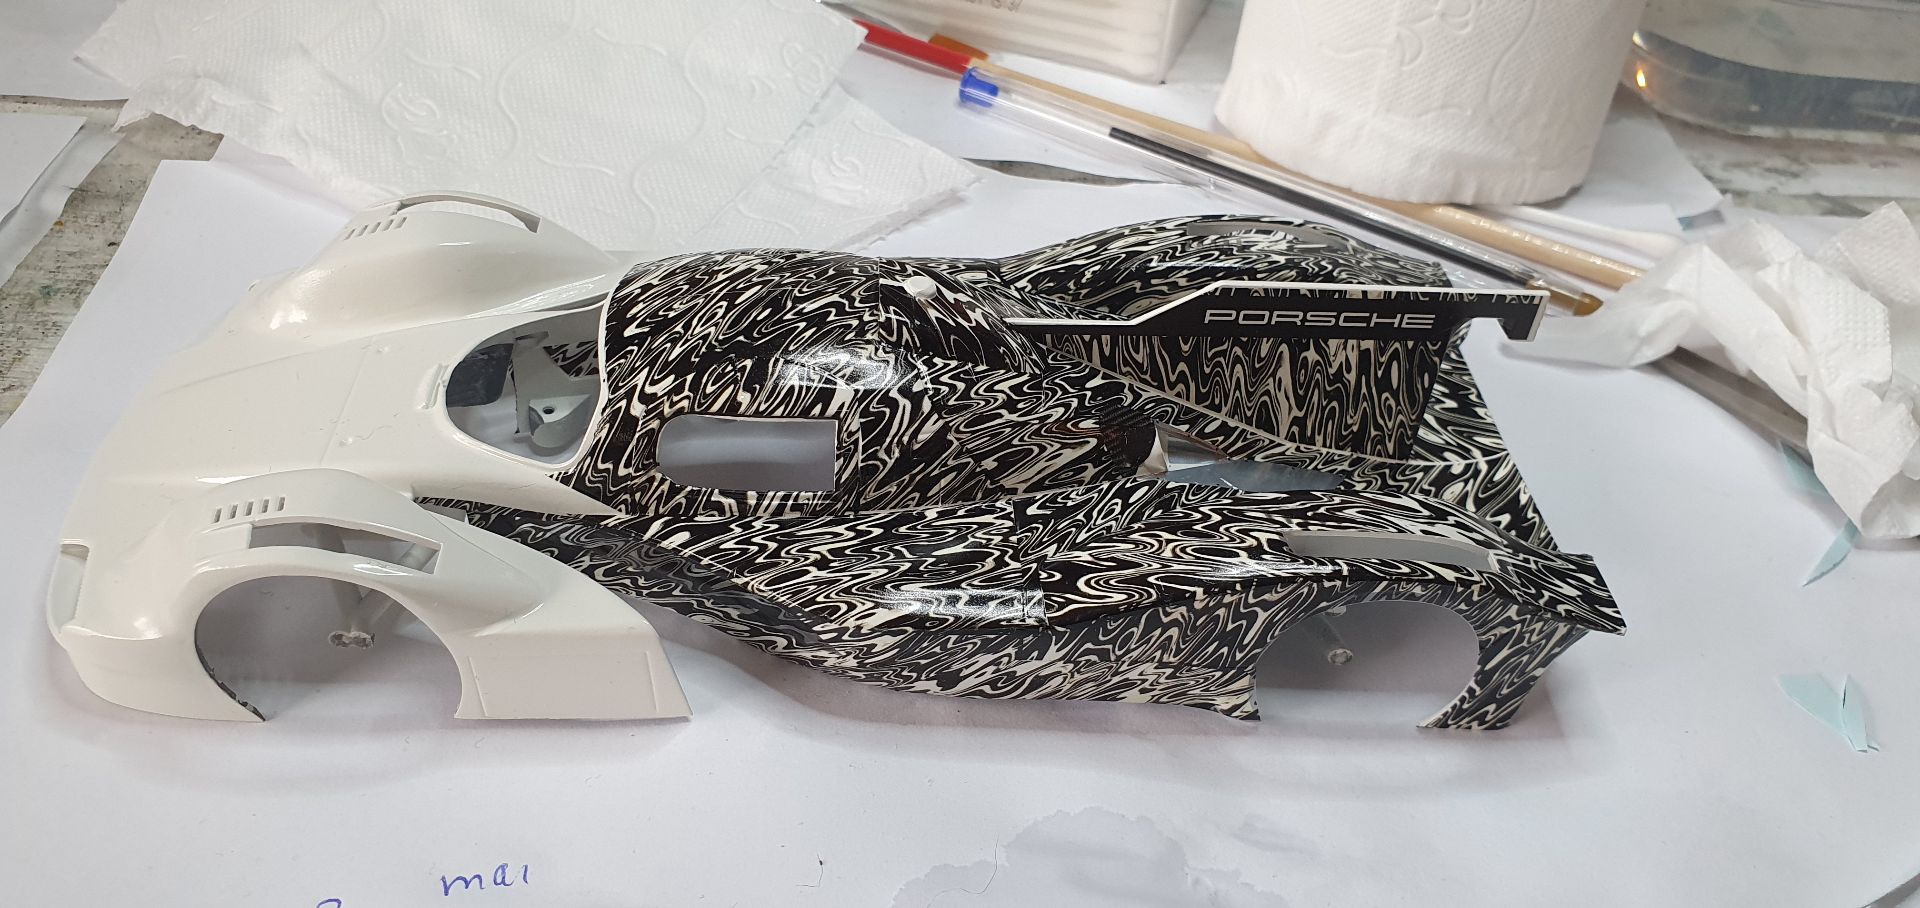
Patience time here. Again using the wheel vents as reference, I gently placed the decal around the wheel arch. Patience patience, because of the curves it'll take a while to get smooth.

Did these decals together while the wheel arch was still wet. That way I can puzzle everything together, and it fitted really well.
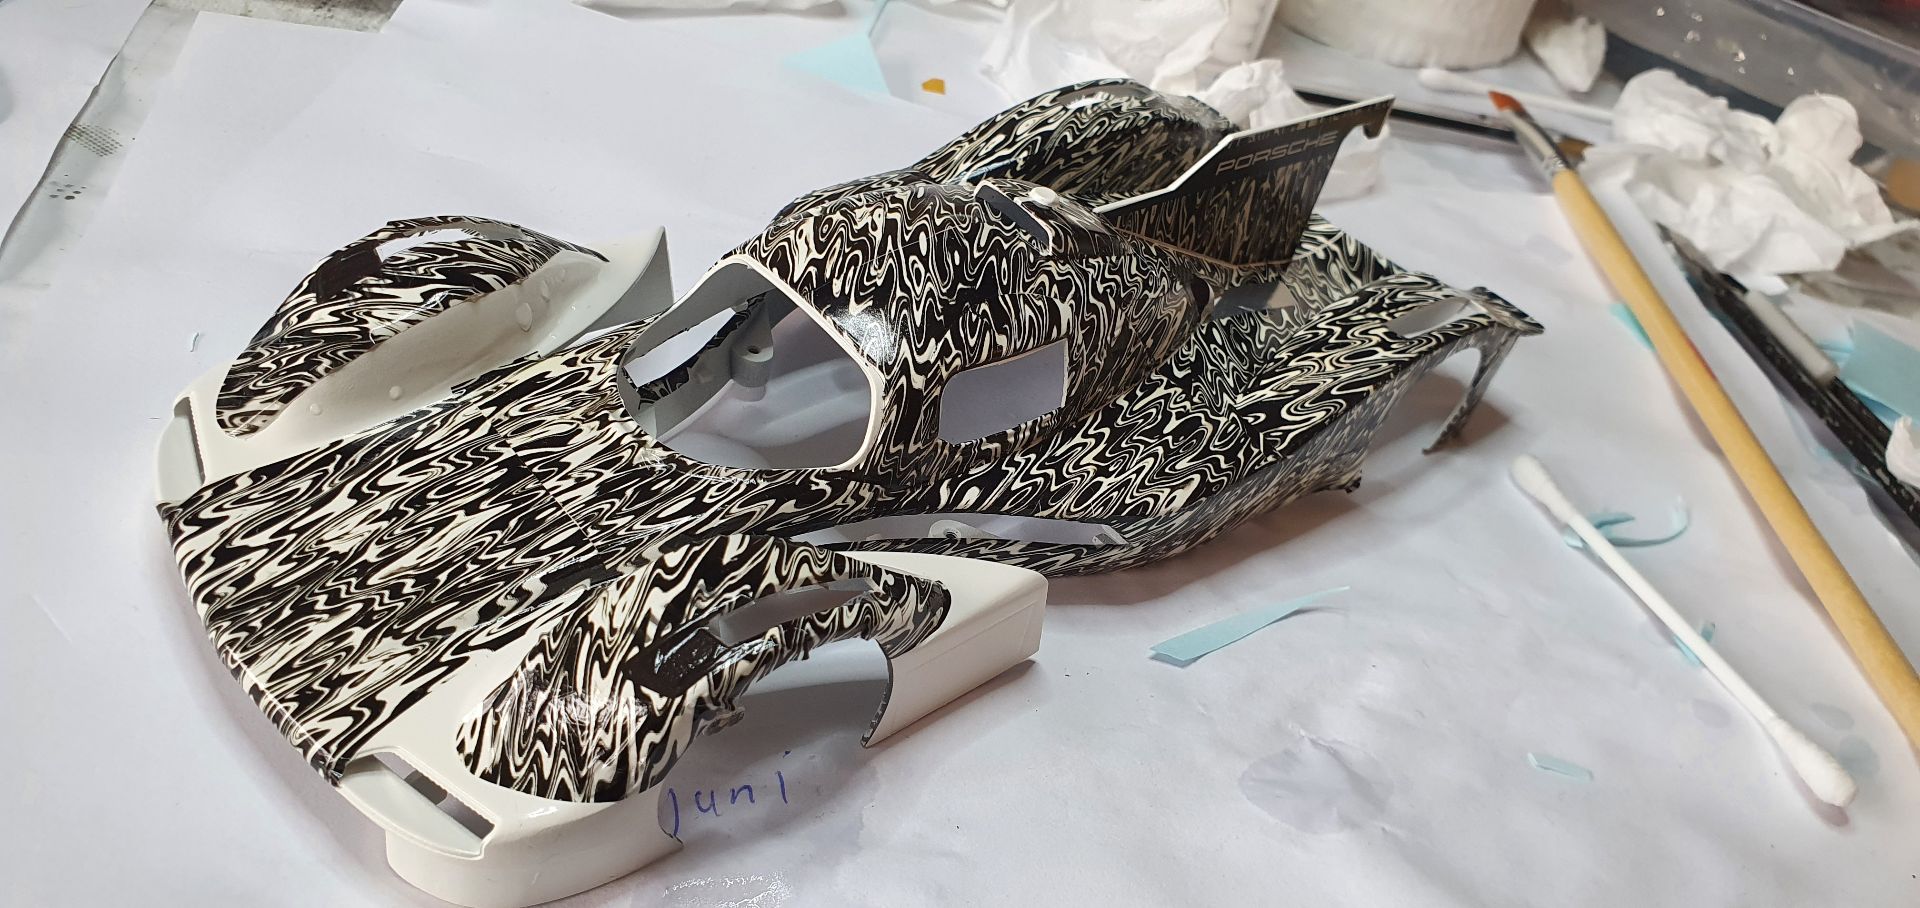
Nearing the finish line!

Straight forward.
Sides where eventually the numbers will be.
And that's it!
I hope you have enjoyed this walk through, and use it to your advantage making your car look even better.!
